After numerous requests to try Pigeon Peas in my “Will It Tofu” series, I’m happy to answer “YES!” Bouncy, high protein soy-free tofu can indeed be made from Pigeon Peas (also known as Toor Dal), and fairly easily too! The resulting “peafu” can be used just like regular extra firm tofu (unlike “Burmese tofu“)
Video Tutorial for Pigeon Pea Tofu (toor dal tofu)
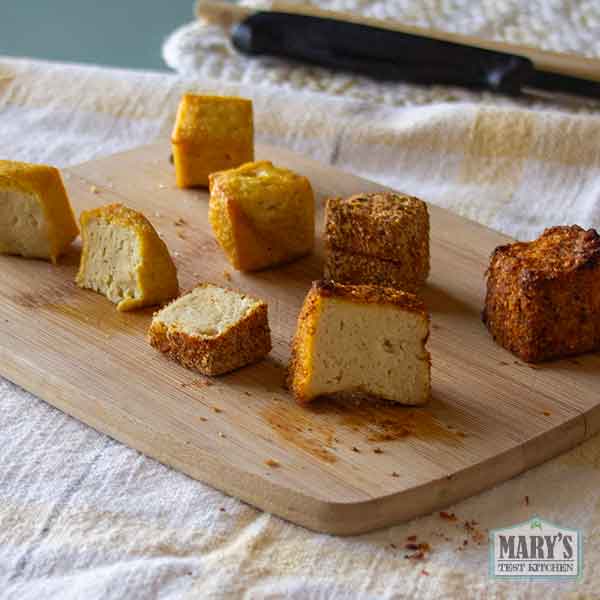
What does Pigeon Tofu taste and feel like?

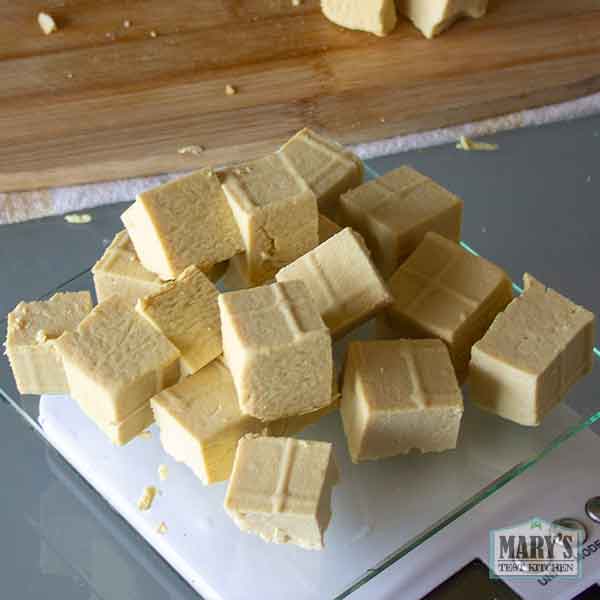
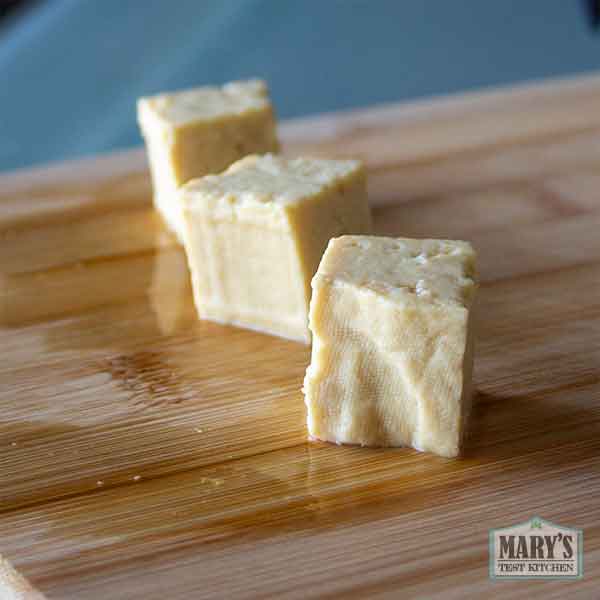
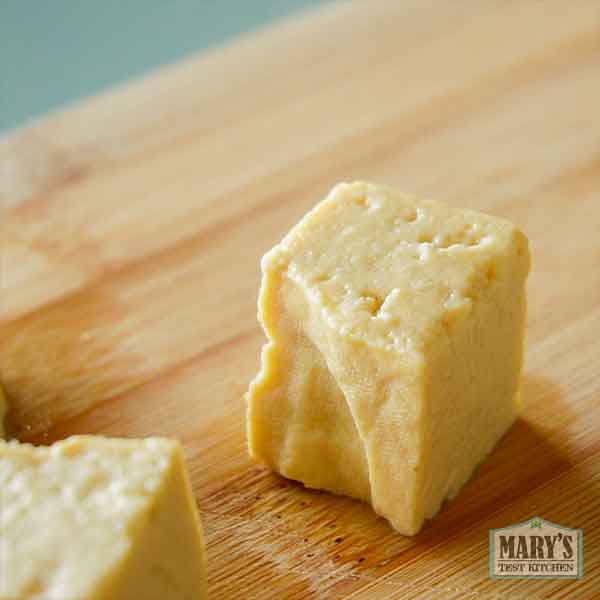
Freshly made split pigeon pea tofu is very similar to regular soy extra firm tofu. It is:
- similar in firmness and texture (like commercially sold, vacuum packed extra firm tofu),
- has a meaty, bouncy bite,
- easy to crumble for making tofu “ground”,
- mild, lentil-like flavour with a slight bitter/floral undertone
It’s similar to tofu made from yellow peas but because of this floral undertone, it pairs well with strong-tasting spices and sweeter sauces. You can also boil the tofu before using it in other preparations to eliminate the bitter notes.

But why make Soy-Free Tofu in the first place?
If you are allergic to soy or the people you are cooking for are, this is a great alternative so that you can still make tofu recipes without any soy! Personally, I eat a lot of soy but I believe it’s good to have variety when it comes to plant-based protein sources. In this series, we have made high protein, low carb tofu from:
- fava beans,
- red lentils,
- chickpeas (different from Burmese Tofu),
- yellow split peas,
- green split peas,
- hemp seeds, and
- pumpkin seeds.
Applying the tofu-making method to peanuts and sunflower seeds made soft creamy curds that were more like soft cheeses than tofu.
If you were wondering, I did try with black beans, kidney beans, and pinto beans. However the process was exceedingly difficult and the results were more like a bean paste than a bean curd.
I even tried making tofu out of frozen edamame. The process was more difficult that usual and the results were…well, maybe you should read the blog post for that one.
Beans and grains are great sources of vegan protein BUT if you are like me and cannot have too many carbohydrates for medical reasons, having protein sources that are not attached to a lot of sugars or starches is really important for health.
Why use Pigeon Peas for Soy-Free Tofu?
To be honest, I had never heard of Pigeon Peas (aka Toor Dal) before viewers requested it for this series. However, Pigeon Peas have been used by humans for over 3000 years beginning in India. These days, they are consumed all over the world. They contain high amounts of the amino acids methionine, lysine, and tryptophan.
Unfortunately, I was not able to find them in my nearby grocery stores. So I ordered them on Amazon. They were not cheap but I imagine I could probably find them at an Indian grocery stores for less if I had the time to search.
Before experimenting with them, my only concern with using pigeon peas for tofu is that they do contain a lot of starch. Excess starch can get in the way of making tofu with good texture that isn’t mushy. However, the problem is solved with a simple “settling” step.
What you’ll need to make Pigeon Pea Tofu
The ingredients for making tofu from split peas include:
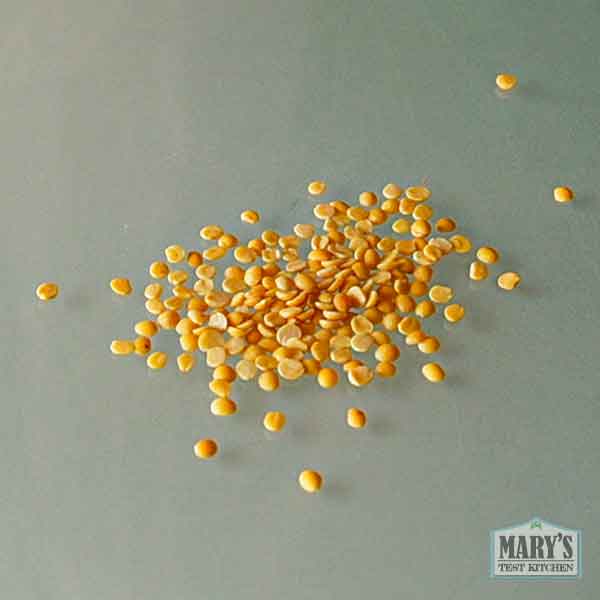
- 1 pound of pigeon split peas, and
- food-grade calcium sulfate (gypsum) and water as your coagulant. Other coagulants may also work but I have not tested them. Gypsum is my favorite because it’s cheap, reliable, and does not add any flavor to the tofu.
For equipment, it will be helpful to have:
- a blender (I tested using only my Vitamix but other lower-powered blenders should work fine too),
- a good quality nut-milk bag,
- a large cooking pot,
- a flat-edged spatula for stirring the peanut milk,
- a tofu making mold (I prefer this one that has a spring-pressure lid),
- fine cheesecloth (if your tofu press didn’t come with one),
- and a way to scoop up fine delicate curds (like a mesh strainer, slotted spoon, etc.)
Please note that these links are Amazon affiliate links. This means if you use them to make your purchases, I will receive a small commission but rest assured there is no extra cost to you.
How to Make Pigeon Pea Tofu
Making tofu with pigeon peas is a lot like making regular soy tofu. However, since there is more starch in peas, there is one extra (but easy) step to remove the starch. I’ll get into the details in the step-by-step below.
1. Soak the Pigeon Peas
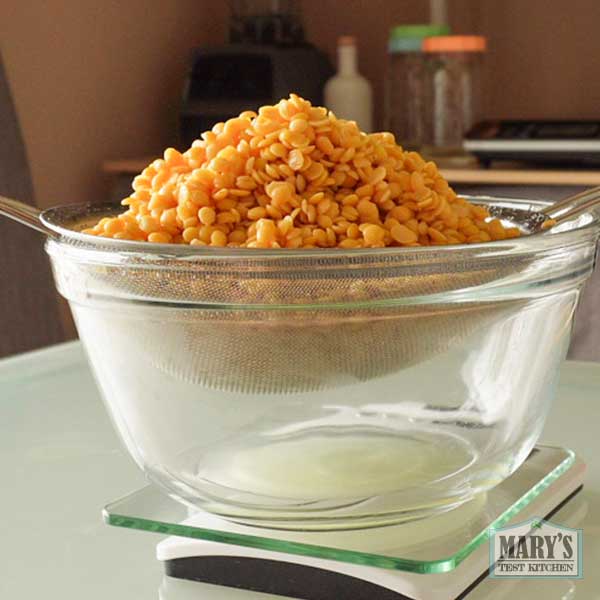
Hot-soak the split pigeon peas by adding plenty of boiling water and letting it sit at room temperature for 1 hour. Please use a large heat-safe container and be very careful not to scald yourself.

Please note that in the video, I am pouring just boiled water in to a mason jar but it’s a bit risky since the jar will get so hot. You can just was well use a pot which would be easier to handle with hot liquid inside. IMPORTANT: DO NOT tighten a lid on a mason jar full of hot water. It will be difficult to remove and therefore, a hazard.

After the peas have doubled in size, drain the soaking water. Then rinse the peas to get rid of loosened starch and drain once more.
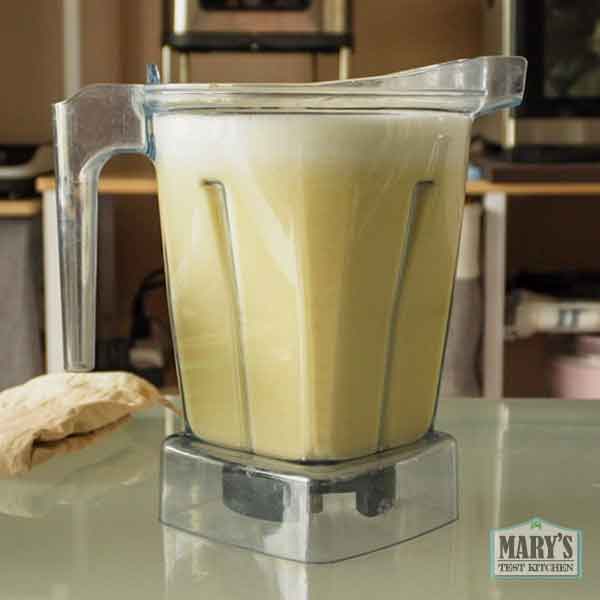
2. Make Raw Pea Milk
Depending on the size of your blender, you may need to do this step in two batches. Combine the pigeon peas with double their volume of water (no need to be exact) and blend for 30 seconds on high in your Vitamix or other high speed blender. If you are using a conventional blender, you may need to blend for 2 minutes or longer until the puree appears smooth.
Pour the puree into a fine nut milk bag over a large bowl and strain until the pulp is as dry as you can get it.
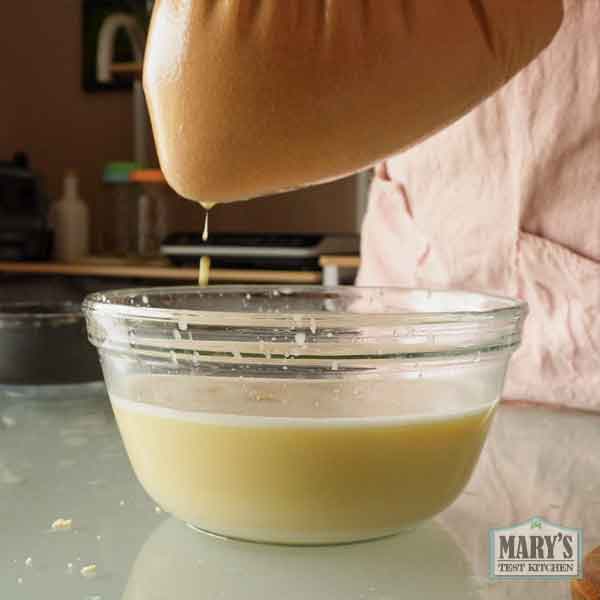
The fibrous pulp should be quite fine and white with no obvious chunks of pigeon peas in it. We want the pulp so fine that we get all the protein out of it but not so fine that it becomes impossible to strain.
If your pulp is still a bit chunky, run it through the blender again with just enough water to get it going.
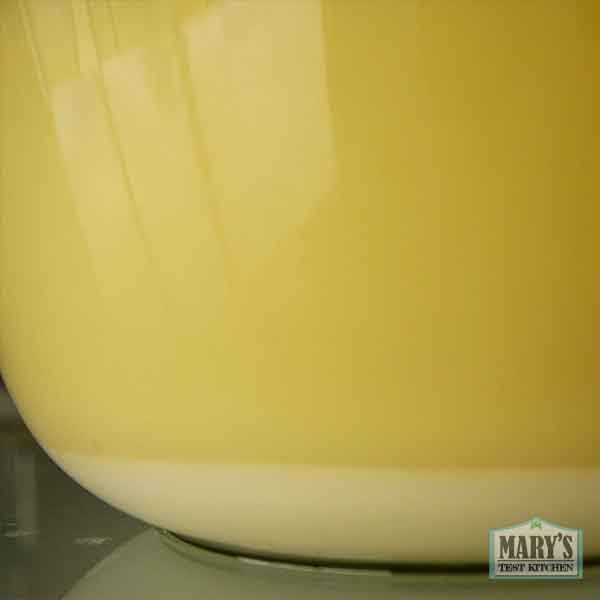
Let the milk rest in the bowl for 60 – 90 minutes. This lets the starch sink to the bottom of the bowl.
Afterwards, you can gently scoop the milk into your cooking pot. Be gentle and try not to disturb the starch layer at the bottom. When you get near the end of the milk, you may see loose starch in it. Just leave these tailings behind. Better to lose a bit of milk than to get starch into your pot.
3. Cook the milk & Prepare Coagulant
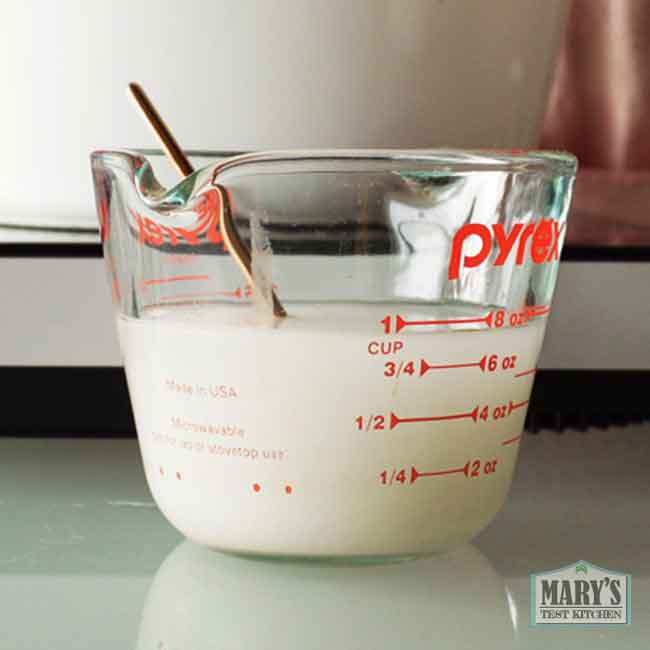
Mix 1 1/2 teaspoons of food-grade gypsum (calcium sulfate) with 1/2 cup of room temperature water and set it aside.
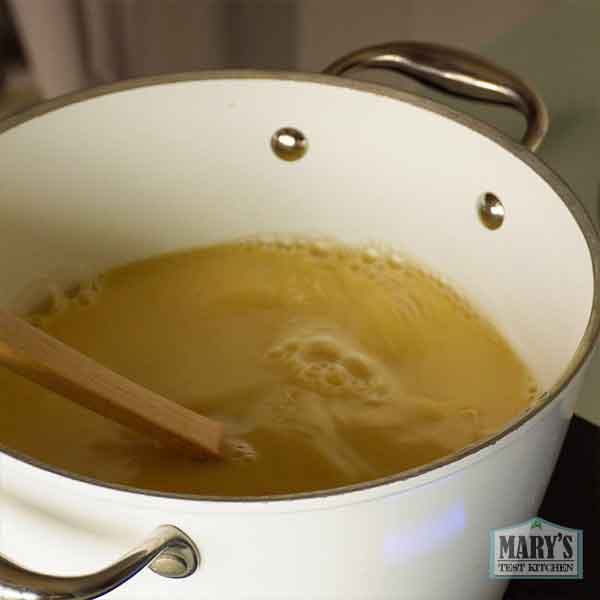
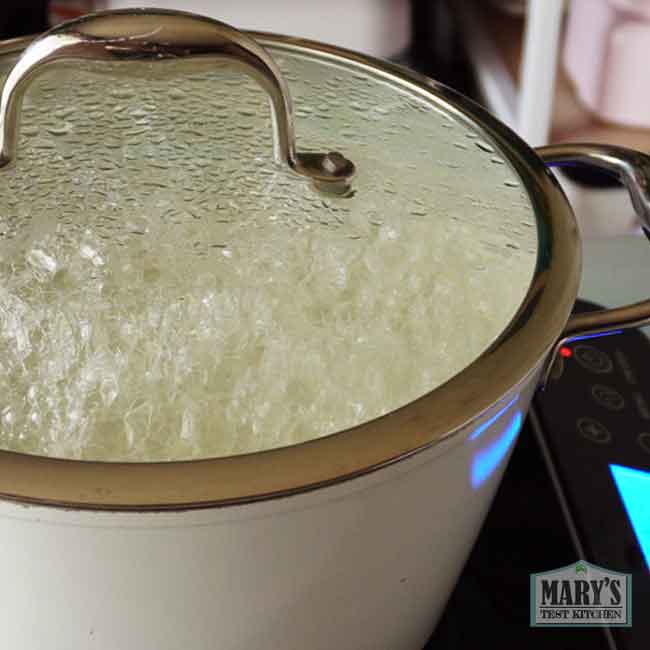
Then, over medium-high heat, cook the raw split pea milk until it comes to a simmer. Like soy milk, a film can form easily around the sides and bottom of the pot so stir regularly. Also like soy milk, pea milk can easily foam up and spill over the top of your pot. So keep an eye on the heat and adjust as needed.
Continue to let it simmer about 10 minutes until the fresh scent of the raw milk turns into nutty and fragrant. That’s how you’ll know it’s cooked through.
4. Add Coagulant
Check that the milk temperature is about 180°F and turn off the heat. Stir up the coagulant so that the gypsum is once again suspended in the water, then pour it slowly into the pot while stirring in one direction. Then, stand the spatula upright so the spinning motion stops. Cover the pot and let it sit on the warm stove top for 15 minutes.
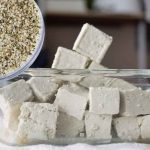
5. Press curds
After 15 minutes, the milk should have split into fluffy, wispy pale greenish/yellowish curds and clear whey. If this is the case, you can move on to pressing these curds.
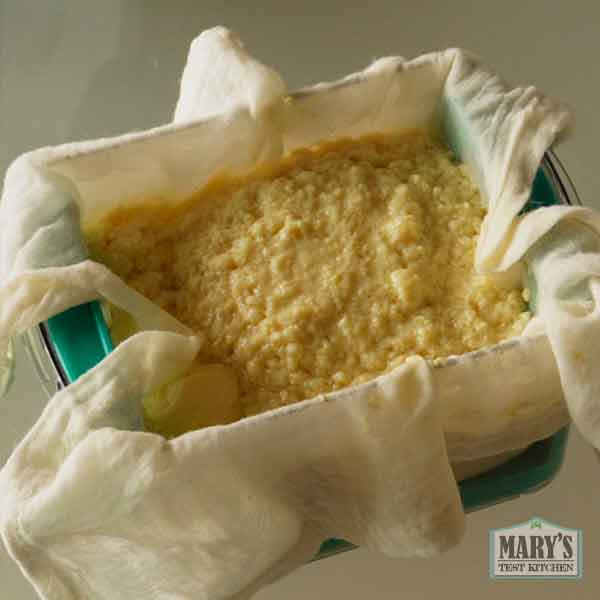
First set up a mesh sieve lined with fine cheesecloth over a bowl. Then ladle the curds and whey into the sieve, letting the whey drain through into the bowl.

The whey can be reserved to use in place of vegetable broth for soups and sauces.
When enough whey has drained, it will be easier to transfer the curds into your tofu press. Gently arrange the curds they they sit evenly in the mold. Fold the cloth neatly over the tofu and add your pressing lid.

If using my preferred tofu mold, just twist the knob until it stops; do not force it. Pour off excess water using the vents. Please in fridge to cool overnight. If using weights, use about 5 lbs of weight, pour off excess water and place in fridge. The next day, gently unmold and your high protein split pea tofu is ready to use!
Troubleshooting
Making tofu is fairly straight forward but sometimes things can go wrong. Here are the solutions to the most common issues. There are two main issues see people having when their tofu doesn’t turn out correctly. One, the pea milk doesn’t coagulate fully (or at all). The second issue is the tofu falling apart after pressing it. And then one issue I see a couple times a year, the milk does coagulate fully but you only got a tiny amount of tofu out of it! How frustrating! But don’t worry, I have your answers!
Pigeon Pea milk not coagulating fully (or at all)
If your pea milk has partly but not completely coagulated, you may just need to heat up your pea milk again. Avoid heating the milk and curds up too quickly so use medium heat to get the temperature back up to 160°F. Then turn off the heat, cover and it should finish coagulating.
If that doesn’t work, you may need a little bit more coagulant mixture in there. Make another portion, then sprinkle it over the surface of your pea milk, especially over areas you see milkiness. Then double check the temperature, adding heat if needed, cover and let it sit another 15 minutes.
If that doesn’t work, the problem may be your pea milk is not properly made. Go back to the pea pulp and examine it. It maybe that you didn’t blend it enough. If you think that’s the case, let the pea milk cool, return it to the blender with the pulp and repeat from the blending step. You can add a bit more water if that helps.
Homemade Tofu is falling apart!
This is mainly because of how you wrap and press the curds. You may notice in the video I’m pretty particular about how I wrap it. The cheesecloth has tension that keeps the shape and I try to keep the weight even. This will make the consistency of the tofu …well, consistent. And therefore, the tofu becomes a solid block. If you don’t wrap it well, some parts of your soy curds will get higher pressure than others and it will fall apart.
The other reason may be that you skipped or rushed the final step of cooling the tofu. The temperature change makes the curds shrink which helps the tofu become denser and the curds interlock with each other, helping it stay together. Make sure the tofu is nice and chilly all the way through before attempting to handle and slice it.
My pea milk coagulated but I only got a tiny bit of tofu! What gives?
You probably rushed either the blending step or the milking step.
You’ll know you haven’t blended your beans enough if your pea pulp is chunky. It should be really fine, pretty dry after milking, but sticks together like play-doh. I divide the batch into two parts when blending as my containers are not that big. And this takes about 30 seconds using my Vitamix on the highest setting or 2 minutes using my regular-powered Oster Blender on the Liquefy setting.
Similar to that, if your pea pulp is the right consistency but quite wet, you’ve got to squeeze it some more! Get all that protein and fat extracted out of those peas; put some elbow grease into it and strengthen your forearms at the same time!
Printable Recipe for Pigeon Pea Tofu
Pigeon Pea Tofu (Toor Dal Tofu)
This high protein, low carb Pigeon Pea Tofu is made in the traditional soy-tofu method with one extra (but easy) step.
Ingredients
- 1 pound dried split pigeon peas (toor dal) (454g)
- water
- 1 1/2 tsp calcium sulfate (food grade gypsum)
Instructions
- HOT SOAK your split pigeon peas in plenty of just boiled water on your counter for 1 hour. Rinse and drain peas. Then, transfer HALF to your blender along with about double their volume of fresh water. Blend on high for 30 seconds. Over a large bowl or pot (prefer glass bowl to see through), strain through soy/nut milk bag until pulp is very dry. Repeat with other half of peas.
- Rest the milk for 60-90 minutes to allow the starch to settle to the bottom of the bowl or pot. Then, use a cup to gently scoop only the milk while avoiding disturbing the starchy layer below. You will have to leave some of the milk behind as it won't be possible to get it all without starch contamination.
- Transfer milk to large cooking pot. Let it warm up over medium low heat while you prepare your coagulant. Mix 1/2 cup room temperature water with 1 1/2 tsp calcium sulfate and keep it nearby with a spoon ready
- Turn heat up to medium high or high and bring milk to a simmer while stirring constantly. Keep at simmer for 10 minutes to cook through. Then adjust the heat so the milk reaches 180°F. Immediately, stir up your coagulant again. Pick it up in one hand, keep stirring the milk and pour in the coagulant slowly. Stand the spatula straight down to stop the spinning action. Cover and rest for 15 minutes.
- Afterwards, check on how it coagulated. If it is completely curdled, move on draining the curds. If not, mix up more coagulant and spoon over the top surface and around the sides. Tap the top gently to move the curds softly. Then cover again and turn the heat to the lowest setting. Wait 10 minutes and re-check. All the milk should be coagulated.
- Set up a large bowl with mesh sieve on top. Line with fine reusable cheesecloth (or several layers of regular cheesecloth). Spoon the curds and whey in, letting the whey drain into the bowl.
- Transfer the cloth with curds carefully into your tofu mold, Try to spread the curds in evenly. Then add the top and secure. If using my preferred tofu mold, just twist the knob until it stops; do not force it. Pour off excess water using the vents. Please in fridge to cool overnight. If using weights, use about 5 lbs of weight, pour off excess water and place in fridge. The next day, gently unmold and your high protein, soy-free pigeon pea tofu is ready to use!
Notes
Fresh pigeon pea tofu may have a slightly floral/bitter taste. To remove this, boil the tofu for a minute in salted water. Or you can use it as is but season it heavily or with a sweet seasoning/sauce to counter the bitterness.

Hello, your YouTube channel and all your recipes are a treasure to me! Thank you very much.
But I’ve been struggling because I don’t know how much protein, carbs, and calories are in the quantities.
I would be grateful if you added nutritional information below each recipe, especially for protein-focused recipes such as tofu.
Hi eem,
I cannot give that information for these recipes since there is no way for me to measure them exactly. You can estimate the content based on the whole ingredient (in this case, pigeon peas), subtract most of the starch and fiber. What percent? How much? I would not feel comfortable estimating for you. Perhaps one day one of us will have the resources to have the results lab tested.
Good luck,
Mary