Do you want preservative-free aquafaba that whips up perfectly every time? This homemade aquafaba recipes makes the thickest aquafaba that whips up into vegan meringue in no time. Plus, you’ll get some perfectly cooked chickpeas at the some time.
Why make your own aquafaba at home?
If you’re on this page, you already have already heard of the magical properties of chickpea water. But maybe you’ve had trouble getting the liquid from random cans of chickpeas to whip up easily. Or it takes a long time. Or you are not keen on the added salt or preservatives found in canned chickpeas. Luckily, it’s easy to make at home and the chickpeas taste better too! I always opt for homemade aquafaba because:
- It tastes better! Both the chickpeas and the chickpea water is much nicer homemade.
- Free from salt and preservatives.
- Reliable whipping power!
Aquafaba History
In case you didn’t know, “Aquafaba” swept the vegan cooking blogosphere back in 2015. Kicked off from a photo of vegan pavlova by Goose Wolht in a vegan photo sharing group, interested members spun off into another group where we compared notes, learned from each other, and refined our vegan meringue recipes and techniques. I’m proud to say, I was there since the beginning! Not so proud of the potential names I suggested. L’egg (legume egg), anyone?
Learn more about the history of aquafaba here.
Video Tutorial for Making Your Own Aquafaba
How to Make The Best Aquafaba (step-by-step with photos)
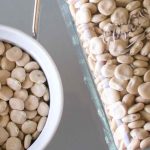
Start with dried chickpeas. As with all foods, the better quality food you start out with, the better-tasting your result will be.
Soak them in plenty of water and leave them in the fridge overnight. They will plump up about three times in size so make sure your container is large enough.
The next day, drain the soaking water and transfer to a pot. You can also cook them in a programmable pressure cooker. Make sure to add plenty of fresh water; enough to cover the chickpeas completely plus a couple inches.
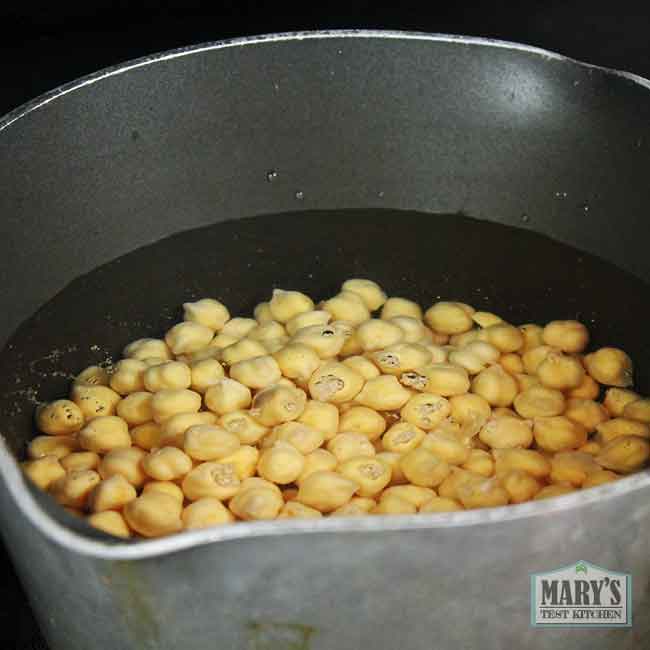
To cook on the stove
Cook over high heat until the water starts to boil. Once it does, the water will start to foam up so keep a watchful eye and reduce the heat to a steady simmer.
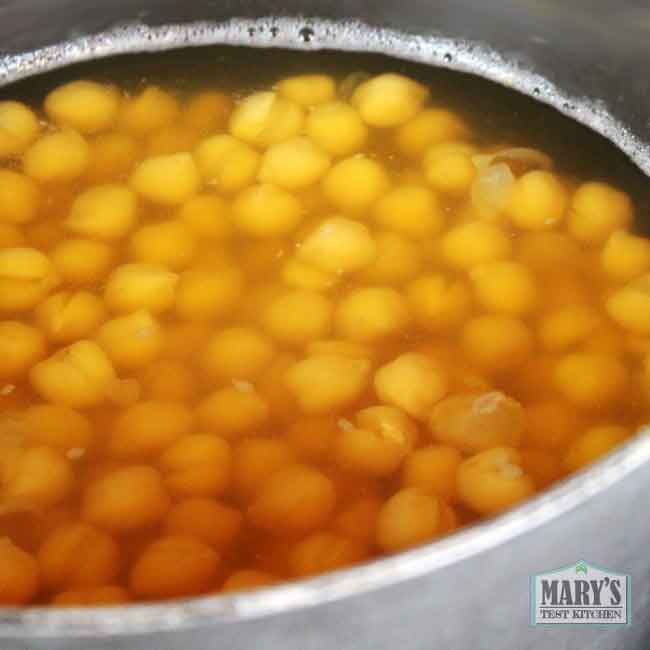
Fully cooked chickpeas take 45 to 60 minutes this way. For very soft chickpeas, cook for 90 minutes.
Afterwards, DO NOT DRAIN! Instead, let the whole pot cool enough so that you can add a lid and place the whole thing in the fridge.
To cook in a Programmable Pressure Cooker (eg. Instant Pot)
However, if you are using an Instant Pot or similar cooker, you can simply use the bean setting and cook to your desired doneness. Afterwards, DO NOT DRAIN! Instead, let the pressure release naturally. When it’s safe to open the device, take out the metal liner pot and let the whole thing cool until you’re comfortable to put it in the fridge.
The waiting game
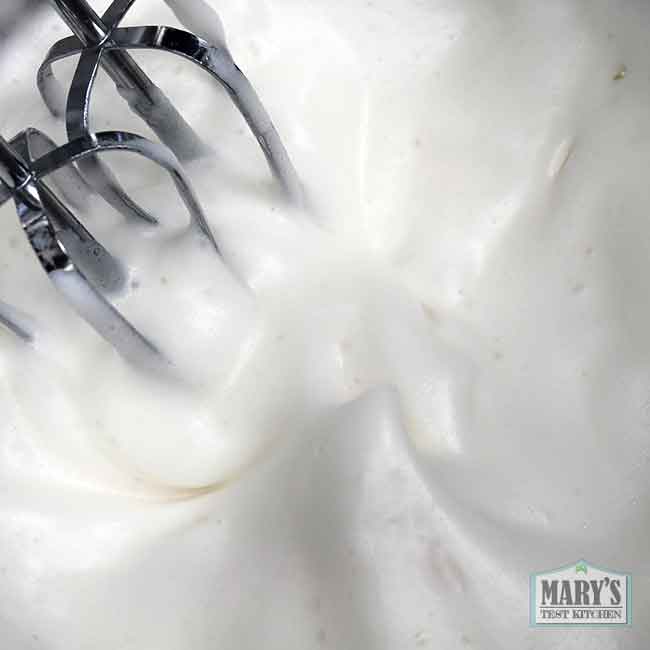
Overnight, the aquafaba will thicken from the starches extracted from the chickpeas. Contrary to popular belief, aquafaba’s egg-white-like qualities do NOT come from plant-based proteins. It’s actually mostly water and starch.
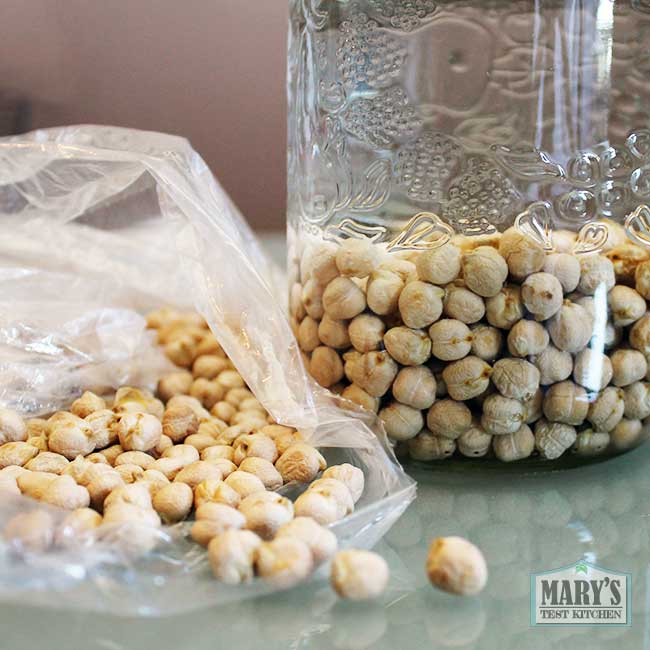
In the morning (or up to 2 days later), you can separate the chickpeas from the liquid with a wire mesh sieve.
Last step for the ultimate thicc aquafaba
The cooking water should be viscous already. Depending on how long your cooked your chickpeas or how much water you used to begin with, you might have more or less aquafaba. For the best aquafaba, I like to make sure it has concentrated to 1 cup volume.

If you have more volume than that, simply simmer on the stove until it has reduced.

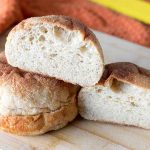
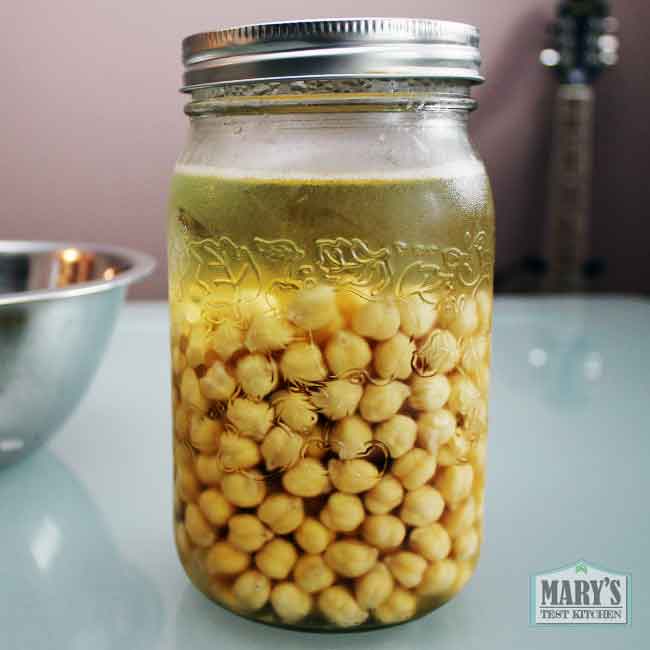
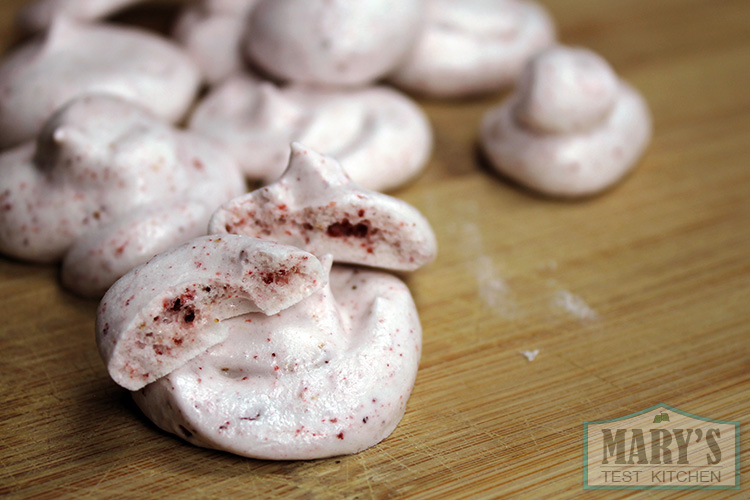
Transfer it to a heat-safe jar and let it cool before using. You can whip it up for a fluffy dessert topping, use it as an egg replacer in some baking recipes (such as these BEST chocolate chip cookies), make easy meringue cookies or even try your hand at vegan macaron!
Fresh homemade aquafaba can be stored in the fridge for a few days. But for longer term storage, pour it into an ice cube tray and freeze. You can pop out the cubes when solid and keep in a freezer bag. Then you can have your homemade aquafaba whenever you like!
Printable Recipe for Homemade Aquafaba
The Best Homemade Aquafaba
Make aquafaba with reliable whipping power!
Ingredients
- 1 cup dried chickpeas (uncooked)
- water
Instructions
- In a large jar/bowl, cover chickpeas with at least triple their volume of water. Let soak in the fridge overnight.
- The next day, drain the chickpeas. Transfer to a pot and cover with water to completely submerge plus 2-3 inches more. Heat until boiling, then reduce to a simmer. Simmer for 1 - 1.5 hours until the chickpeas are to your desired doneness. DO NOT DRAIN.
- Let the pot cool until you are comfortable to place a lid on and store in the fridge overnight.
- Afterwards, remove the use a sieve to separate the chickpeas from the cooking liquid. Measure the liquid amount. If over one cup, simmer on the stove until the volume has concentrated to 1 cup. Let cool before storing in the fridge or freeze for longer term storage.
Your homemade aquafaba can be used as soon as it has cooled.
Notes
If using a pressure cooker, cook the chickpeas according to your device. Then continue with step 3.