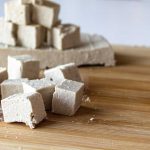
Edamame Tofu made from frozen beans comes out beautifully bright green with strong edamame flavour. Here’s how to make it.
Video tutorial on how to make Edamame Tofu from Frozen Beans
The trouble with Edamame Tofu from Frozen Beans
I can’t say I recommend making this tofu over the many other different kinds I have experimented with. Why wouldn’t you want to make this tofu?
- it costs more than regular soy tofu to make,
- it is more of pain to squeeze edamame milk out of the cooked bean puree,
- it doesn’t make a lot of volume,
- and edamame tofu just tastes like edamame beans with not much difference in the mouthfeel.
So why WOULD you make it?
- you’re having an exotic tofu-tasting party
Maybe my semi-frozen hands and I are still grumpy from twenty minutes of squeezing edamame pulp to make this tofu but that’s the only reason I can think of right now. But if you do have an exotic tofu-tasting party, please invite me. That sounds fun!
How to Make Edamame Tofu from Frozen Beans
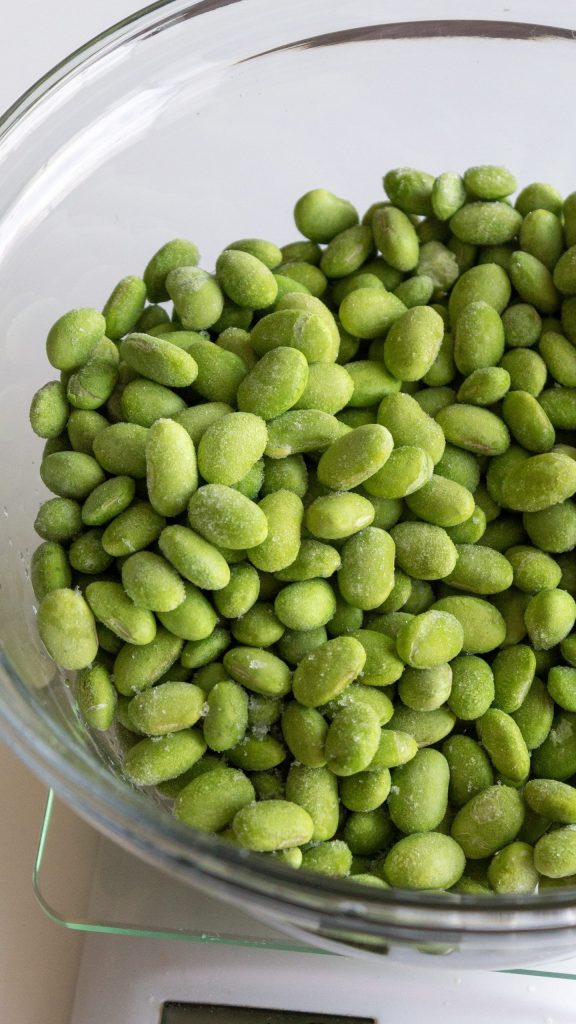
Start with a bag of frozen edamame beans from your local supermarket. Frozen edamame, like green peas, are blanched before freezing so they can remain fresh tasting and brightly coloured for a long time. That also means, they are pre-cooked.
Blend the frozen edamame with room temperature or warm tap water. Use about double the volume of water as you have beans. In my high speed blender, 15 seconds on high was plenty of time. If I ever get the motivation to try this again, I will try to blend for even less time to make the next step easier.

Which is, straining the puree to separate the edamame milk from the pulp. Use a nut milk bag or something similar to catch all the fiber. You can keep the fiber to use in other recipes or compost.
With the milk, you might let it settle for 15 minutes. This will allow any remaining sediment to sink to the bottom of your container. Then slowly pour the milk into a large cooking pot, leaving any sediment behind.
Before turning up the heat, prepare your coagulant and tofu-making equipment. My coagulant of choice is 1 1/2 tsp of gypsum (calcium sulphate) with 1/2 cup of room temperature or slightly warm water.

While stirring constantly to prevent any scorching at the bottom of your pot, turn up the heat and bring the milk to 180°F (or to a low boil). Regular soy milk coagulates at around 160-165°F so taking the milk past this point gives you a buffer when the coagulant goes in and brings the temperature down.
When your milk gets to the target temperature, turn down the heat, stir up the coagulant mixture again and keep stirring the milk. Immediately start slowly pouring coagulant to distribute it throughout the milk. Then stand your spatula straight upright to stop the spinning motion.
Then pout the lid on the pot and let it rest to coagulate for 15 minutes. During this time, you’ll want the milk to stay at about 160°F. For me, this means just keeping it on the stove top with the heat off and the lid on. If your ambient temperature is on the cold side or if you’re using a gas stove, you might keep the heat on minimum.
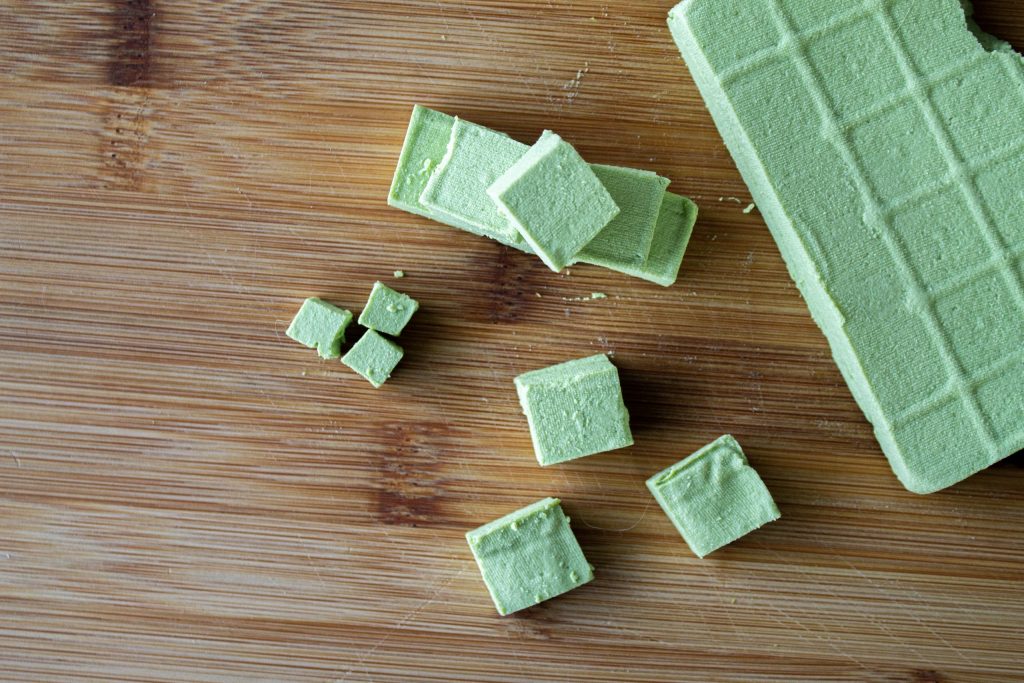
After 15 minutes, the edamame milk should be fully coagulated. You’ll see milky-coloured curds separated from the clear whey. However, these edamame bean curds will not be as solid or big as traditional soybean curds.
To strain them, use the cloth that you would line your tofu with and first lay it over a mesh strainer or colander with a bowl to catch the whey underneath. Carefully pour the curds and whey through. You may shift the curds in the cloth with a spoon gently to allow all the whey to drain though.
When you have enough room in the cloth, you can gather the sides, lift up and place the bundle in your tofu press. Use a spatula to scrape stray curds off the sides of the cloth so all the curds sit neatly in the middle. Then fold over the cloth to keep the curds in and add the pressing lid. If you’re using my preferred tofu press, you can simply add the spring lid, twist the top to apply more pressure, then drain the excess whey.
By the way, don’t throw out the whey! It makes a nice savory broth to use in your vegetable soups instead of water.
If you’re using a traditional tofu press, add as much weight as you can. This tofu will come out delicate and breakable because of the small size of the curds. So using more weight will help it keep together.
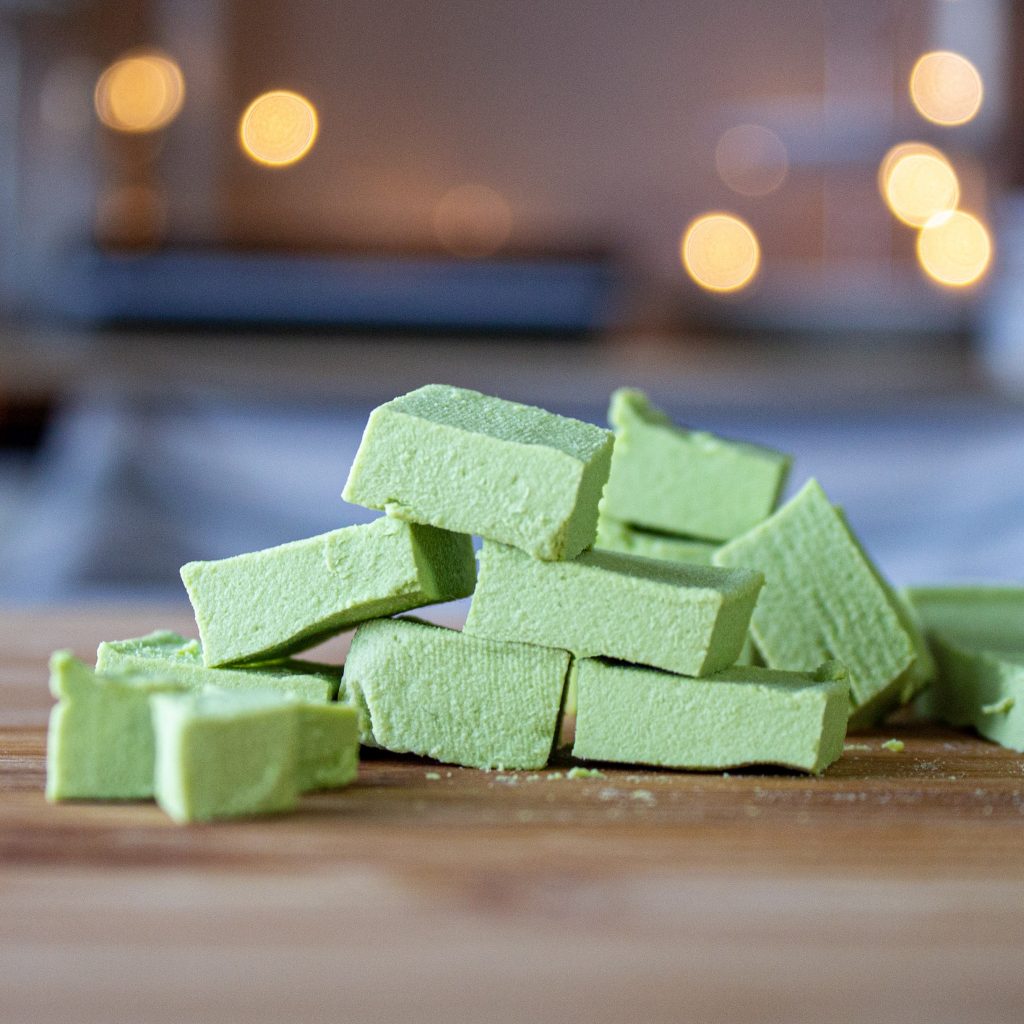
Put the whole apparatus in the fridge to chill completely. Afterwards, you can unwrap carefully and enjoy your edamame tofu immediately! Enjoy, of course, is a relative term. You will be astounded at how much the edamame tofu has not changed at all from whole fiber-intact edamame beans and wonder why you made the effort. And then you remember: your exotic tofu tasting party.
Here are some DIY tofu recipes that are much more worth making:
- DIY Tofu with Soymilk, lemons, and water!
- DIY Silken Tofu
- Soy-Free Tofu with fava beans
- Soy-free Tofu with red lentils
- DIY Pumpfu! Pumpkin Seed Tofu
- DIY Sunfu! Sunflower Seed Tofu which is more like cheese
- Burmese Tofu (AKA Chickpea Tofu)
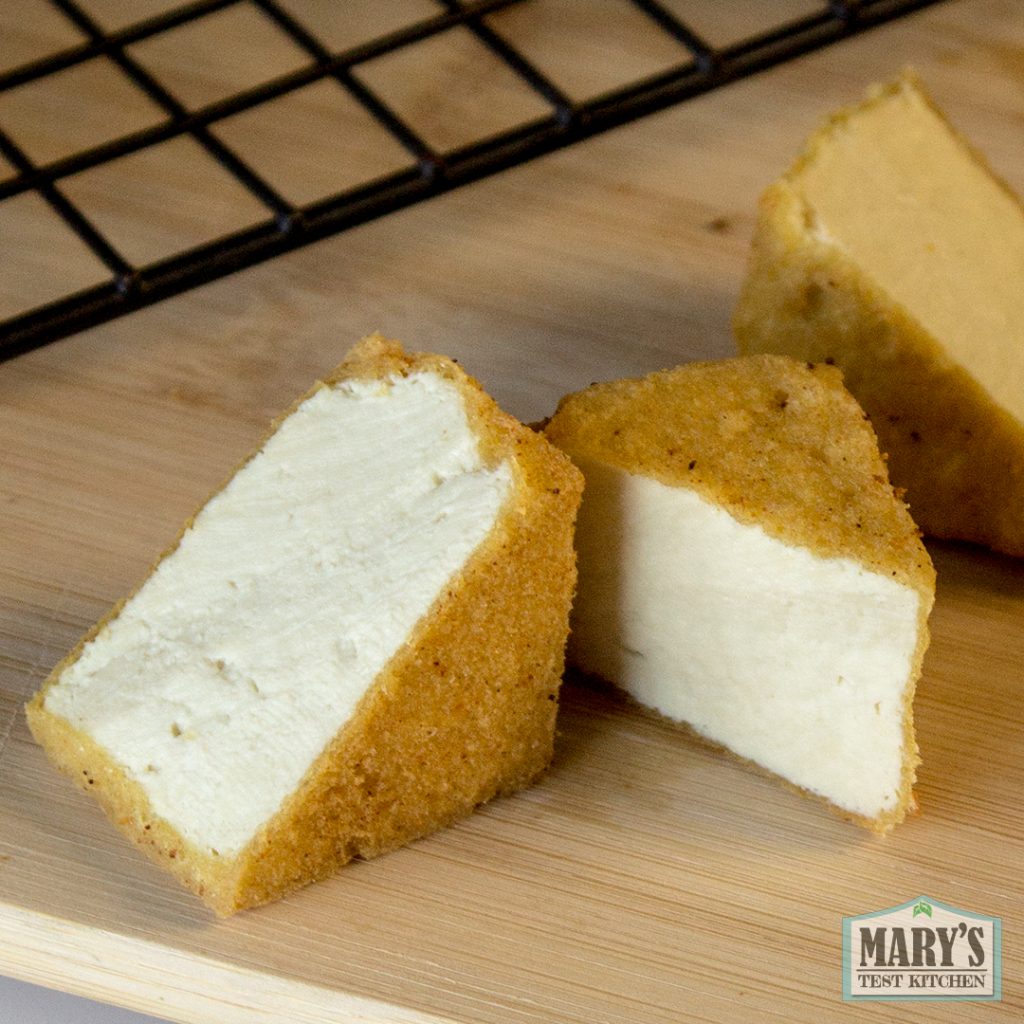
deep fried soy-free tofu with fava beans

Have you ever tried making tofu from pigeon peas or toor dal? The protein content is way up there with that of soy and it’s a pretty economical legume. One advantage of using the dal is there are no skins, only the split legume
I adore your humor ^^
The color is stunning, but otherwise it really is just worth the effort, if you have a high brow tofu sampling party ^^