Learn how to make firmer homemade silken tofu using GDL (glucono delta-lactone) with two easy, reliable techniques: the pour-over method and the steaming method. This step-by-step guide will help you achieve beautiful silken tofu that’s firm enough for beginners to handle but still smooth and perfect for your silken tofu recipes.
DIY Silken Tofu: What Actually Works at Home
Silken tofu looks simple, but methods, coagulants, and heat can completely change the result.
I’ve made silken tofu on this blog before, but this time I tested more variations, a new-to-me coagulant, especially for a bigger batch, more reliable results, and fewer heartbreaks along the way.
In this guide, I’ll walk you through:
- Making smooth, beginner‑friendly silken tofu with GDL (glucono delta lactone)
- The difference between pour‑over vs steaming methods
- GDL vs gypsum for silken tofu (and why one is far more reliable at home)
- What happens when you freeze and thaw homemade silken tofu (spoiler: it’s exciting)
- And yes… whether silken tofu can be made in the microwave
This post is based on the full video below, with exact ratios, notes, and observations so you can choose the method that makes sense for you.
Start with the Soybeans
For this batch, I used:
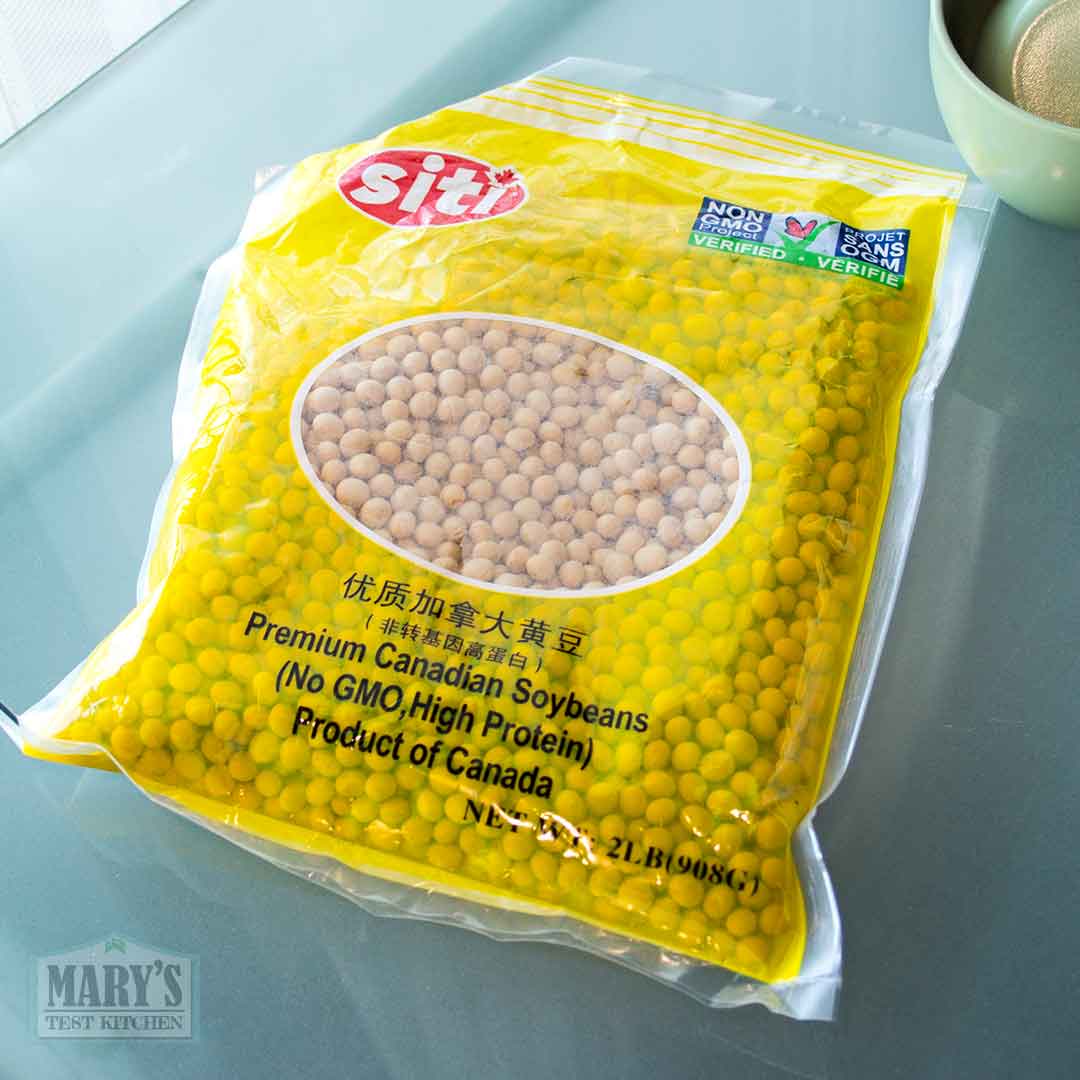
- 225g dry soybeans (about 1¼ US cups)
I’m using Siti brand Canadian non‑GMO soybeans that I bought from T&T (Chinese Canadian grocery chain). I like that they clearly print a best‑before date so I know the beans aren’t too old. Old beans can go rancid so it’s best to avoid. I also had a chance to chat with the owner of DSI, a local tofu manufacturer who told me Canadian soybeans are his top choice for tofu.
That said—this is your homemade silken tofu and there are no rules. Use what you can get.

Before soaking, quickly look over your beans and remove anything discolored or broken. Then cover with at least 3–4× their volume of water and soak overnight (in the fridge for food safety).
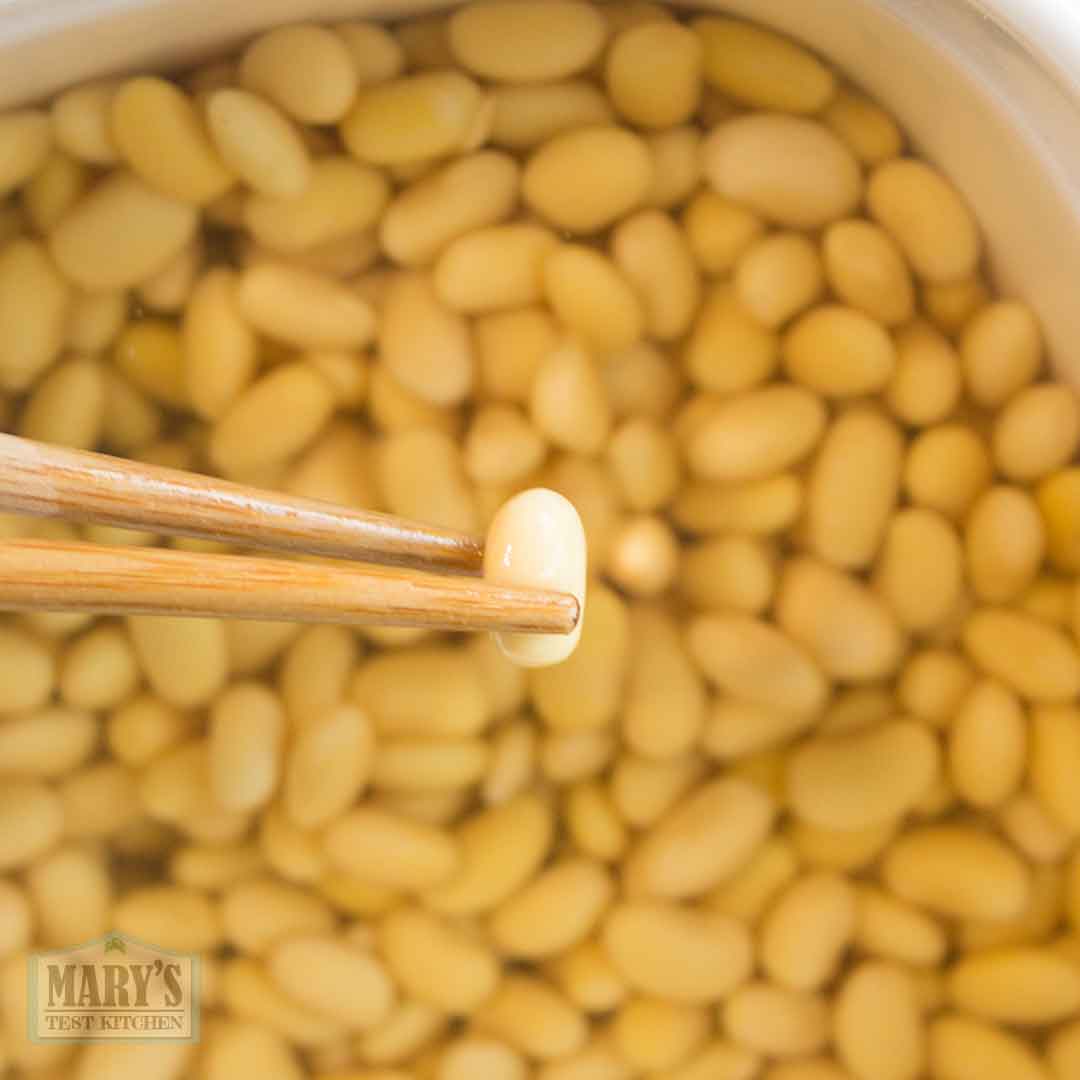
The next day, the beans should be fully plumped. Drain the soaking water and check once more for any odd beans.
Making the Soy Milk
The texture of silken tofu starts here.
For this video, I tested two soymilk concentrations:
Thick Soy Milk (for firmer, easier‑to‑handle silken tofu)
- 225g dry soybeans
- At least 675ml soaking water
- 1200ml water blended with beans after soaking
- Final cooked soy milk adjusted back to 1200ml after evaporation
Thin Soy Milk (for softer, jiggly dessert‑style tofu)
- Same soymilk but diluted to estimate 8g protein per cup like store-bought soymilks
- to replicate, use only 130g dry soybeans (¾ cup) with 1200ml final soymilk volume.
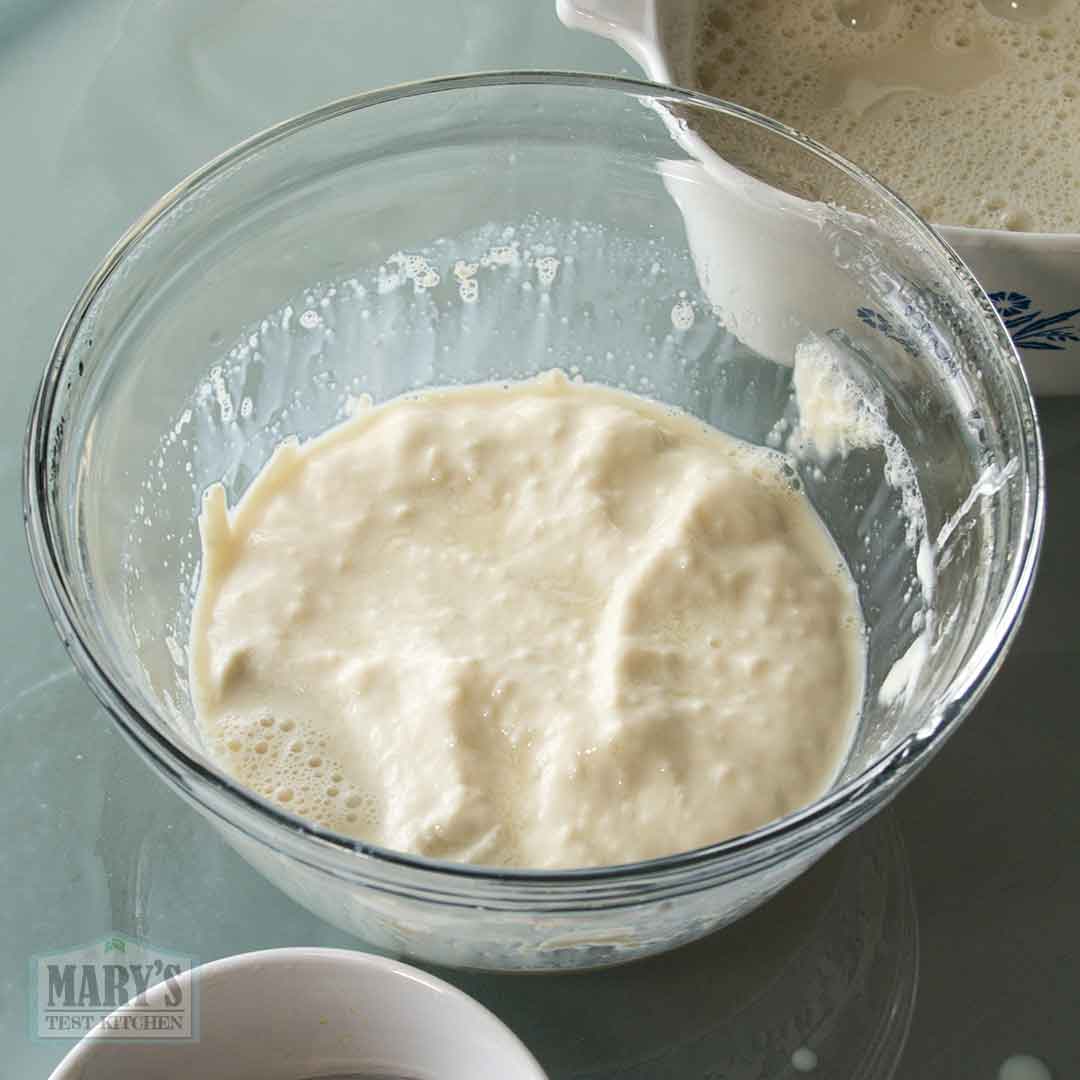
Blend the soaked beans with the water until very smooth. You don’t need a fancy blender—I used to do this with a cheap $40 Oster—but blending well does help extract more protein. However, too fine and the puree will be difficult to strain.
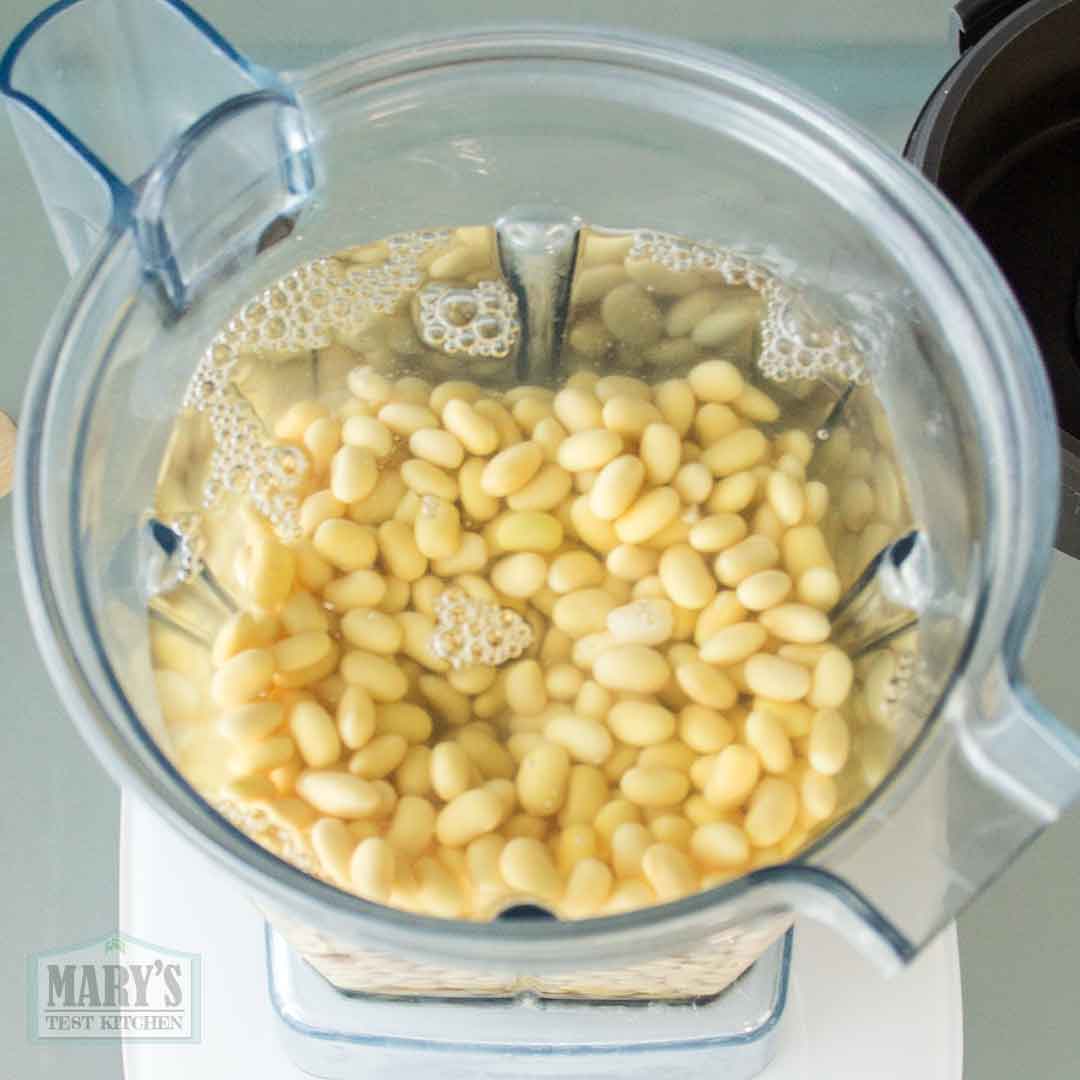
- 25-30 seconds in Vitamix or comparable high-speed blender
- 1 – 2 minutes in conventional household blenders
Strain the puree using a nut milk bag or a large soy milk filter bag. Squeeze firmly, moving the pulp around to encourage flow. Most of the protein and fat ends up in the milk; most of the fiber stays in the pulp.

Also note, if not all the water and beans fit in your blender at once, you can divide the amount up into half at a time. Or, like in the video, blend the beans with most of the water first. Then transfer the puree to your filtering bag and add the remaining water into the bag at that time.
⚠️ Important: Cook the Soy Milk
Do not drink raw soy milk. It will cause stomach upset.
Cook it over medium heat, stirring constantly and scraping the bottom to prevent scorching. Use a thermometer to help track/predict the soymilk’s behaviour.
- Around 160°F / 70°C it starts sticking more
- Around 180°F / 82°C it foams aggressively
- 212°F / 100°C boiling point; it WILL boil over if you don’t quickly remove it from heat.
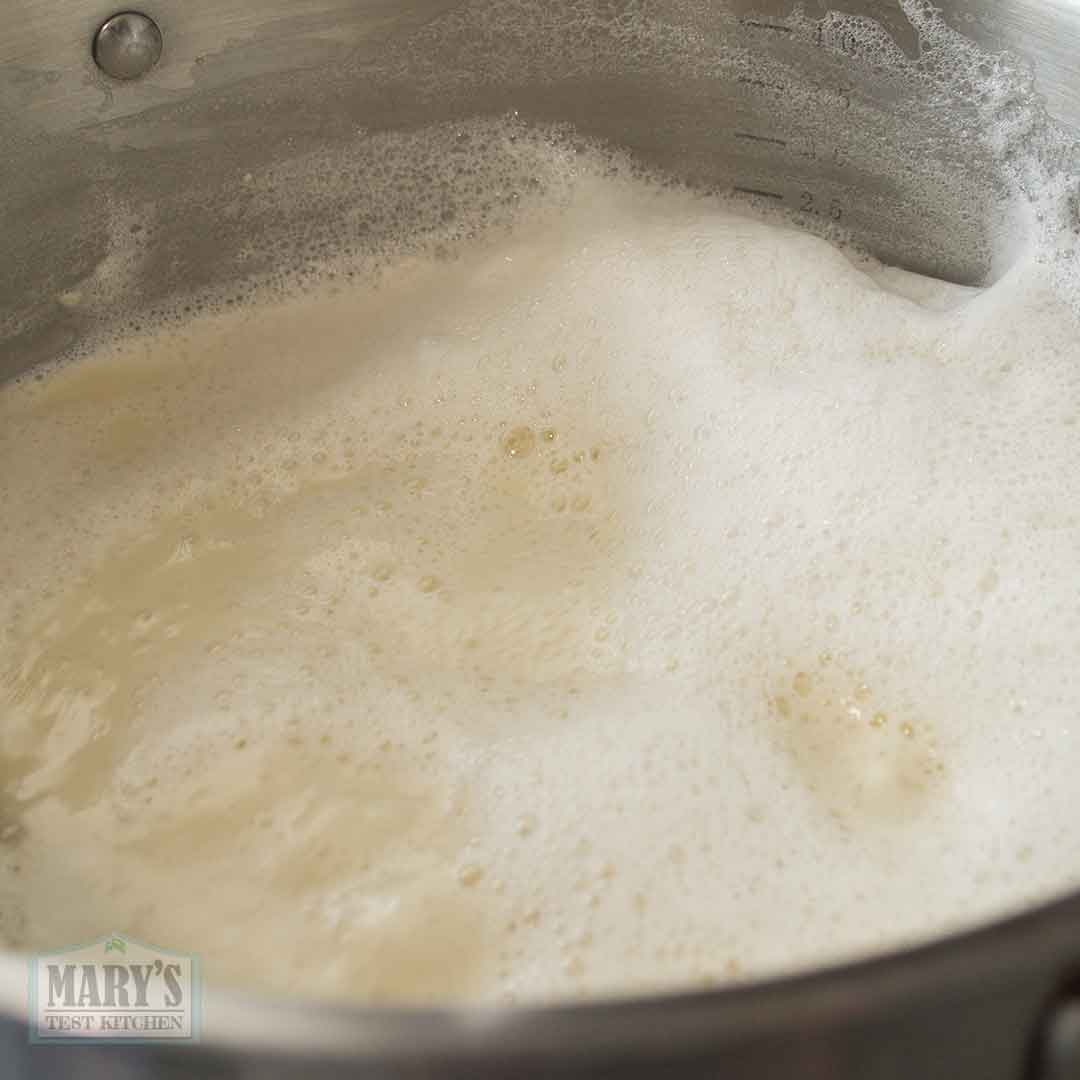
Once it reaches a steady simmer, reduce heat and cook 15–20 minutes. If a skin (AKA tofu skin or yuba) forms, stir it back in. After cooking, strain once more to remove any bits of skin.
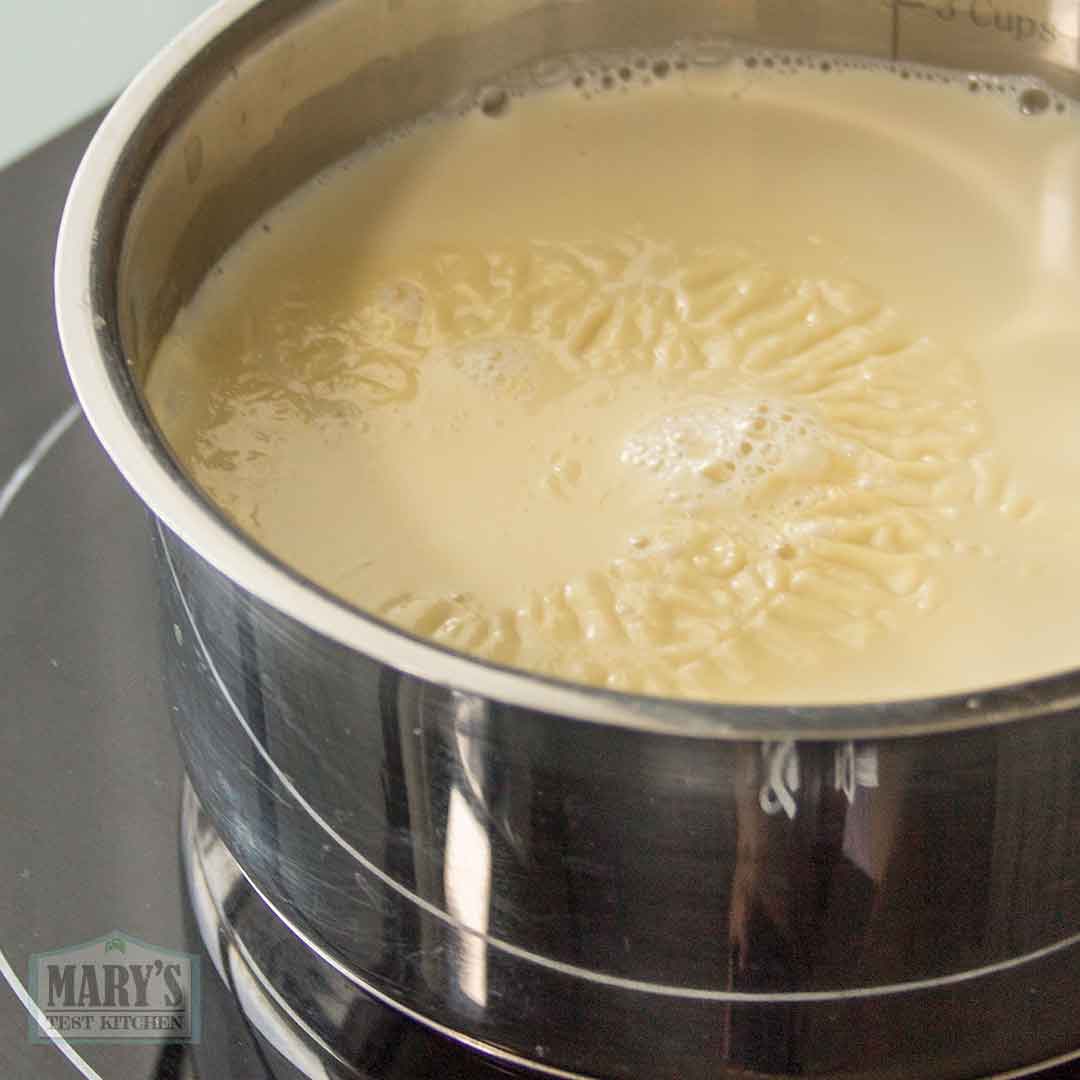
Adjust with hot water if needed so the final volume is 1200ml.
Choosing a Coagulant: GDL vs Gypsum
Long‑time viewers know I love gypsum (calcium sulfate). It’s traditional, neutral‑tasting, and great for many types of tofu.
But for home silken tofu, especially using the pour‑over method, GDL is far more reliable.
Why GDL?
- Extremely consistent
- Works beautifully with both pour‑over and steaming
- Produces smooth, uniform gels
Gypsum can work—but in my testing, it’s much fussier with temperature, bowl pre‑warming, and timing. At home, GDL simply wins.
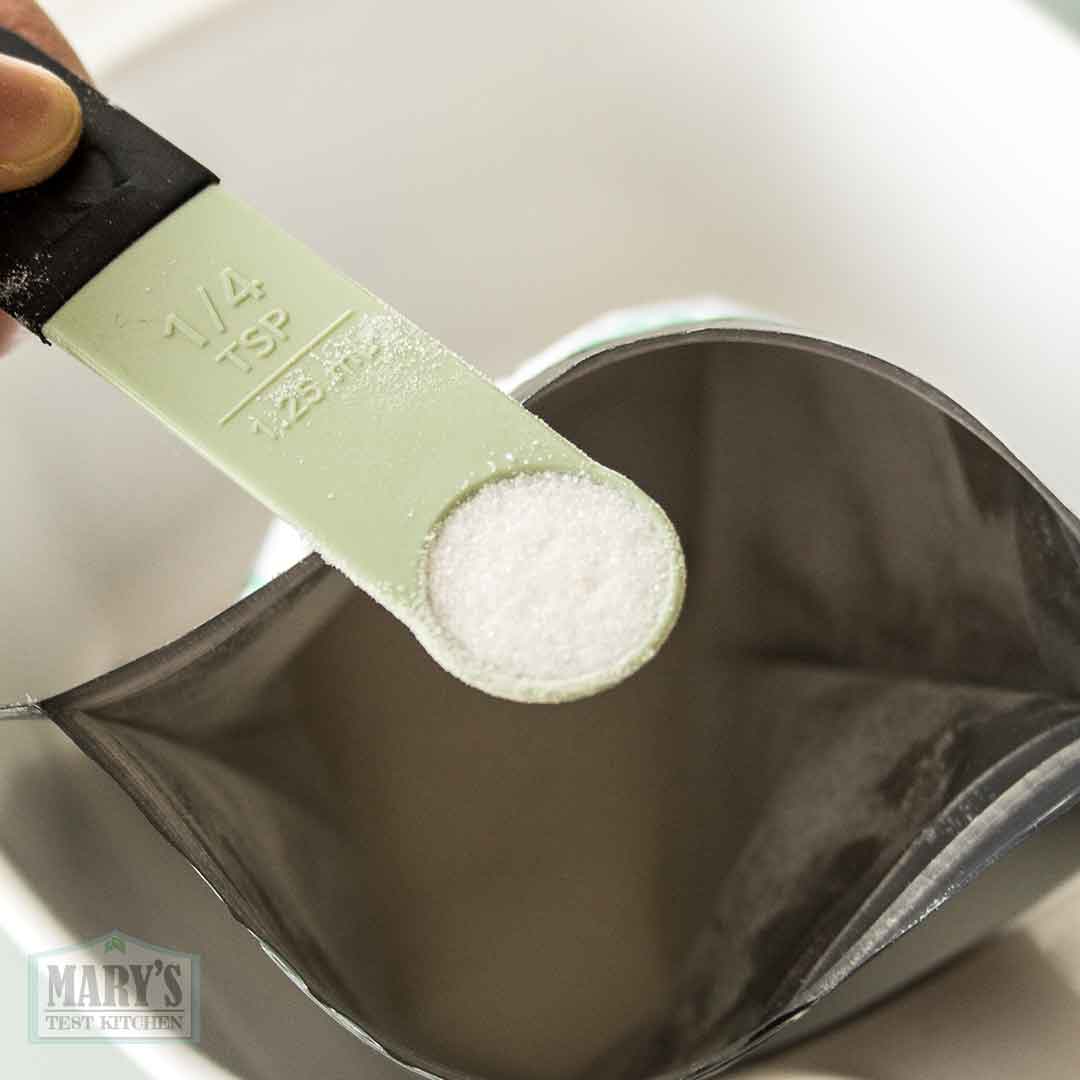
GDL Amounts (Works for Thick or Thin Soy Milk)
Measure carefully—scoop, then level your spoons.
- 1200ml soy milk → 1 tsp GDL
- 600ml soy milk → ½ tsp GDL
- 300ml soy milk → ¼ tsp GDL
- 150ml soy milk → ⅛ tsp GDL
Method 1: Pour‑Over Silken Tofu (Traditional but Intimidating)
This method is more dramatic and it works beautifully with GDL.
Key points:
- Keep soy milk simmering (aim for ~175°F / 80°C)
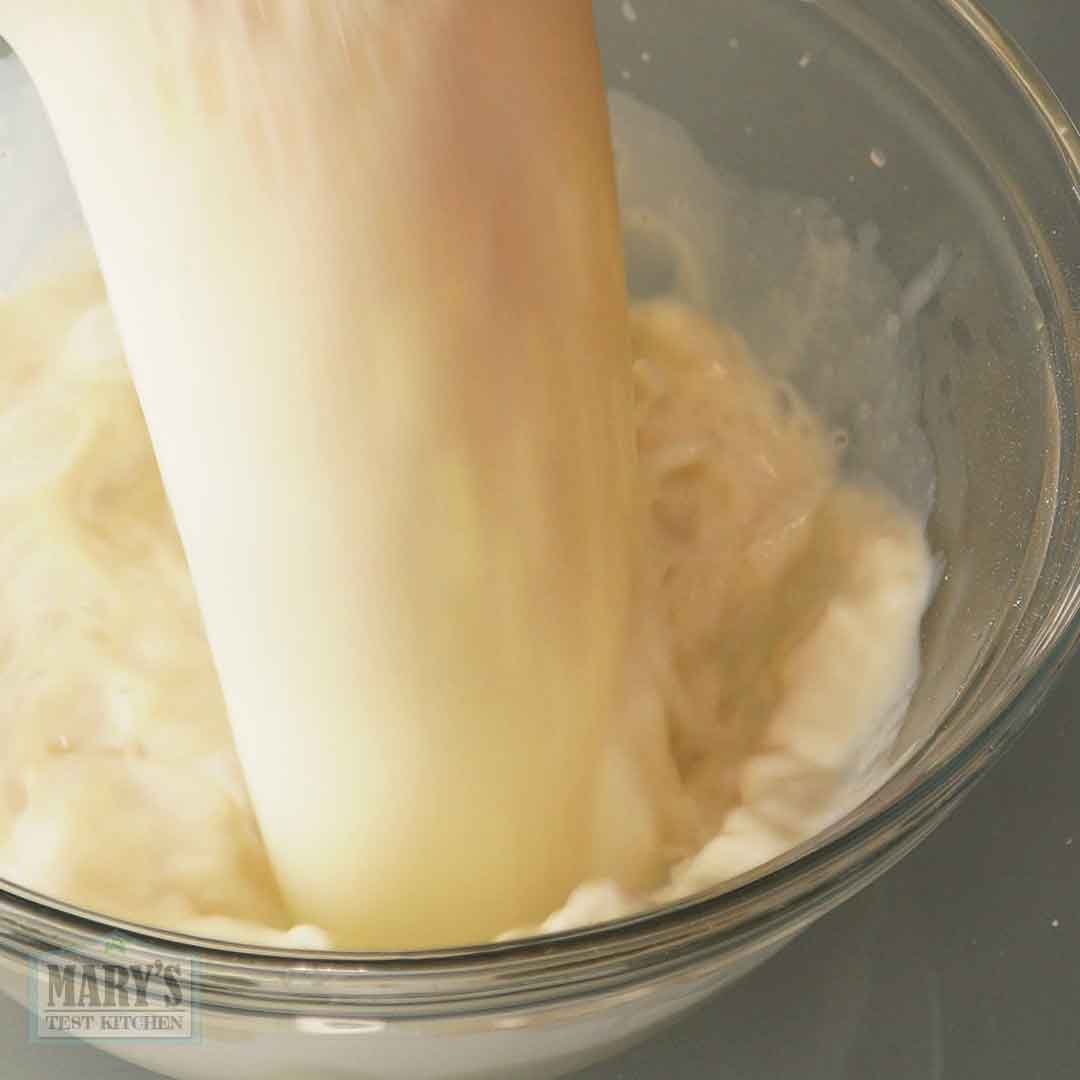
- Dissolve GDL in 1–2 Tbsp water first
- Use a heat‑proof bowl
- Pour from at least 30cm / 1 foot above the bowl
- Optionally, skim the top to remove bubbles.
The pouring motion helps distribute the coagulant evenly.
Cover and leave undisturbed for 15 minutes.
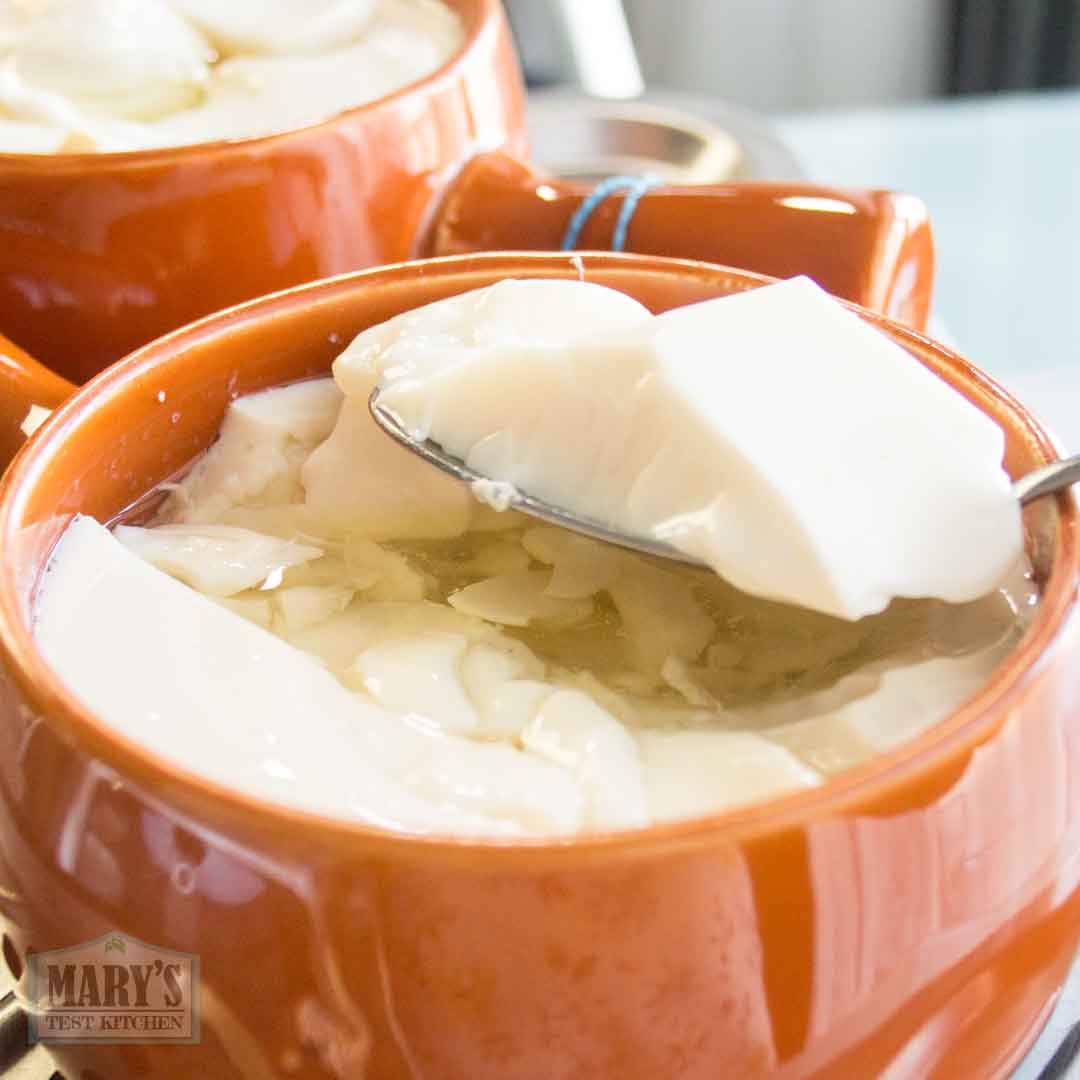
Result with GDL
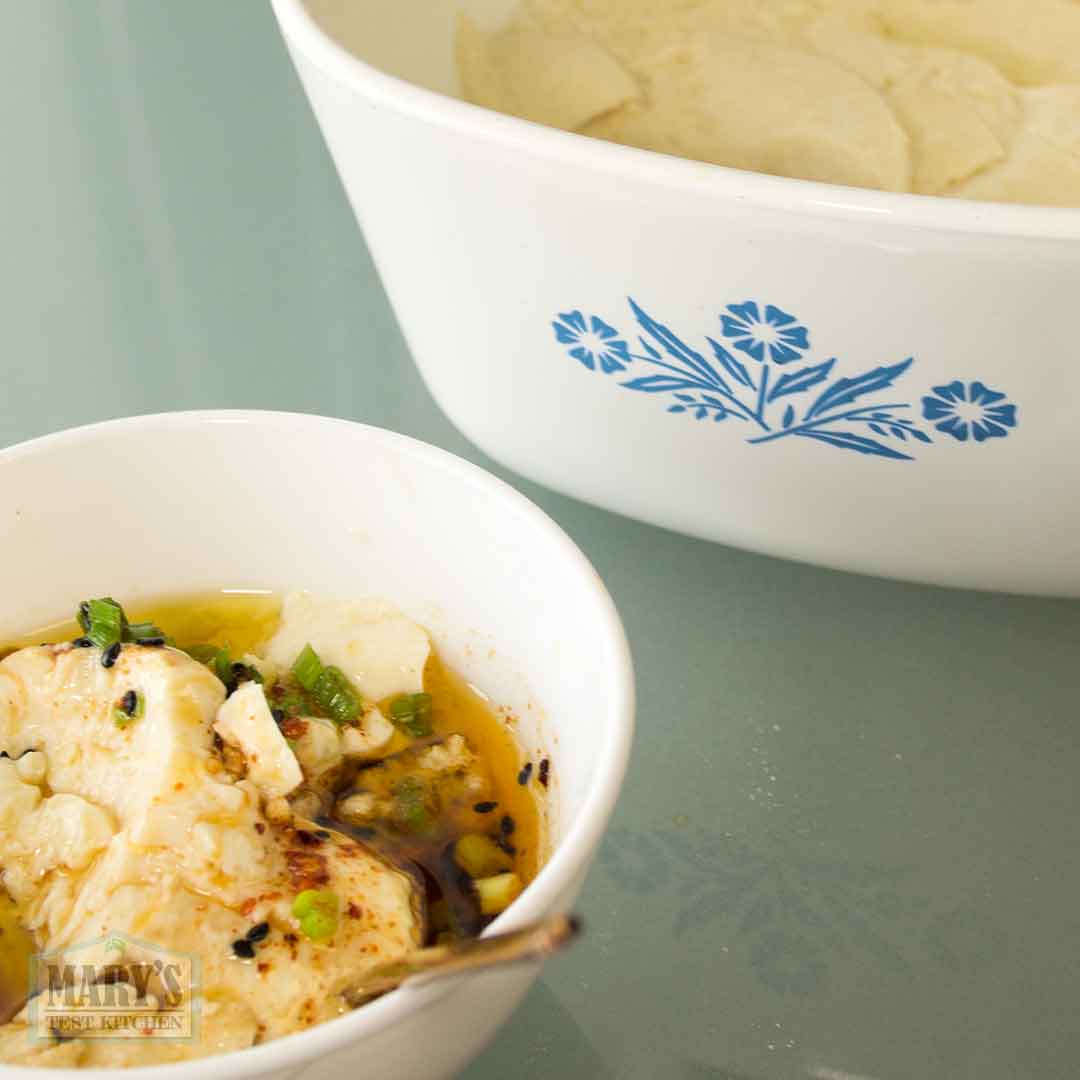
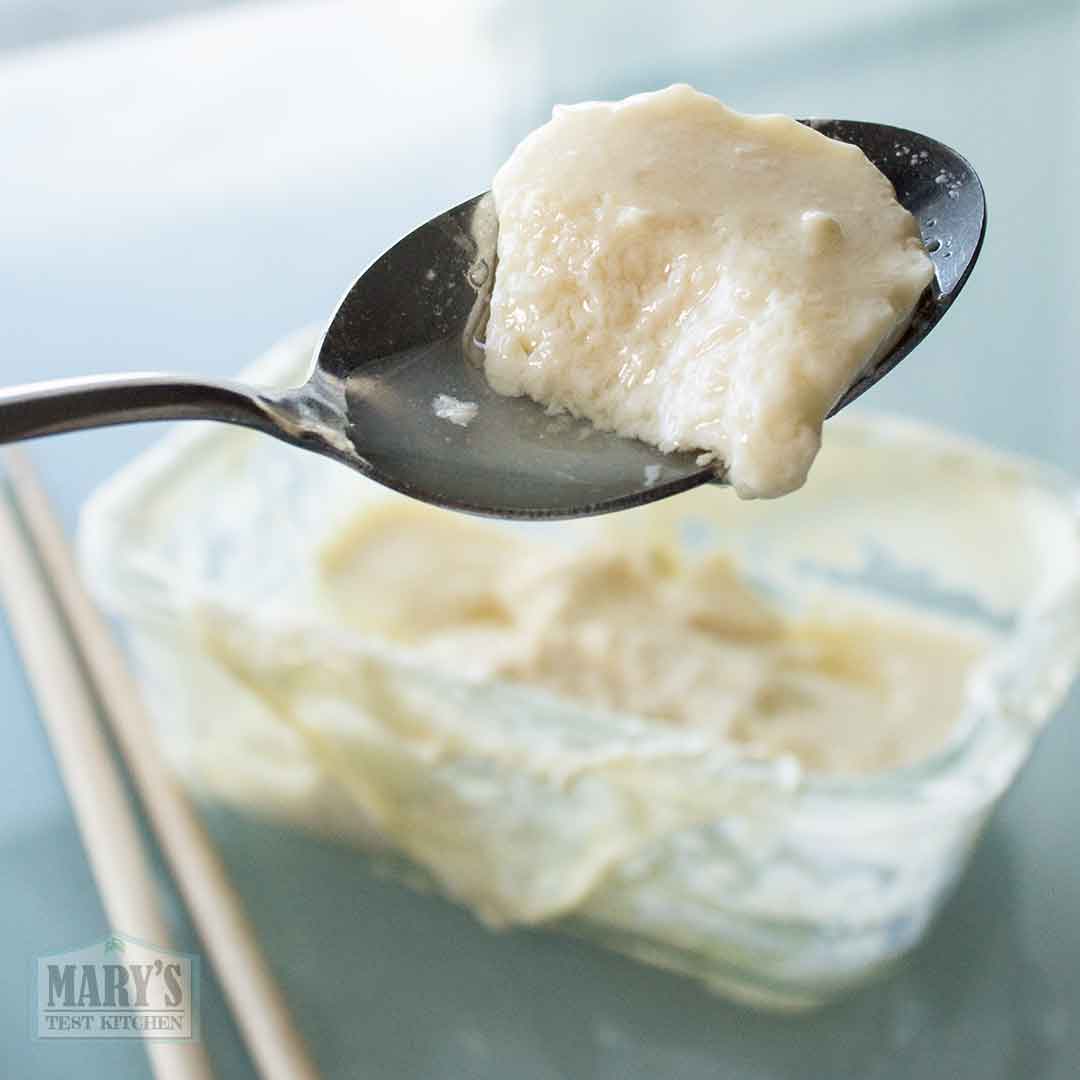
Smooth, soft, lightly firm silken tofu with minimal weeping. Mild, cozy soybean flavor. No noticeable sourness despite GDL being an acidifier.
Result with Gypsum (Pour‑Over)
The top layer stayed liquid and had to be poured off. The tofu underneath set, but unevenly and not very smooth. It tasted fine, but the method was unreliable. See photo below.
If you’re clumsy (like me), this method can be stressful—but it does produce excellent tofu with GDL.
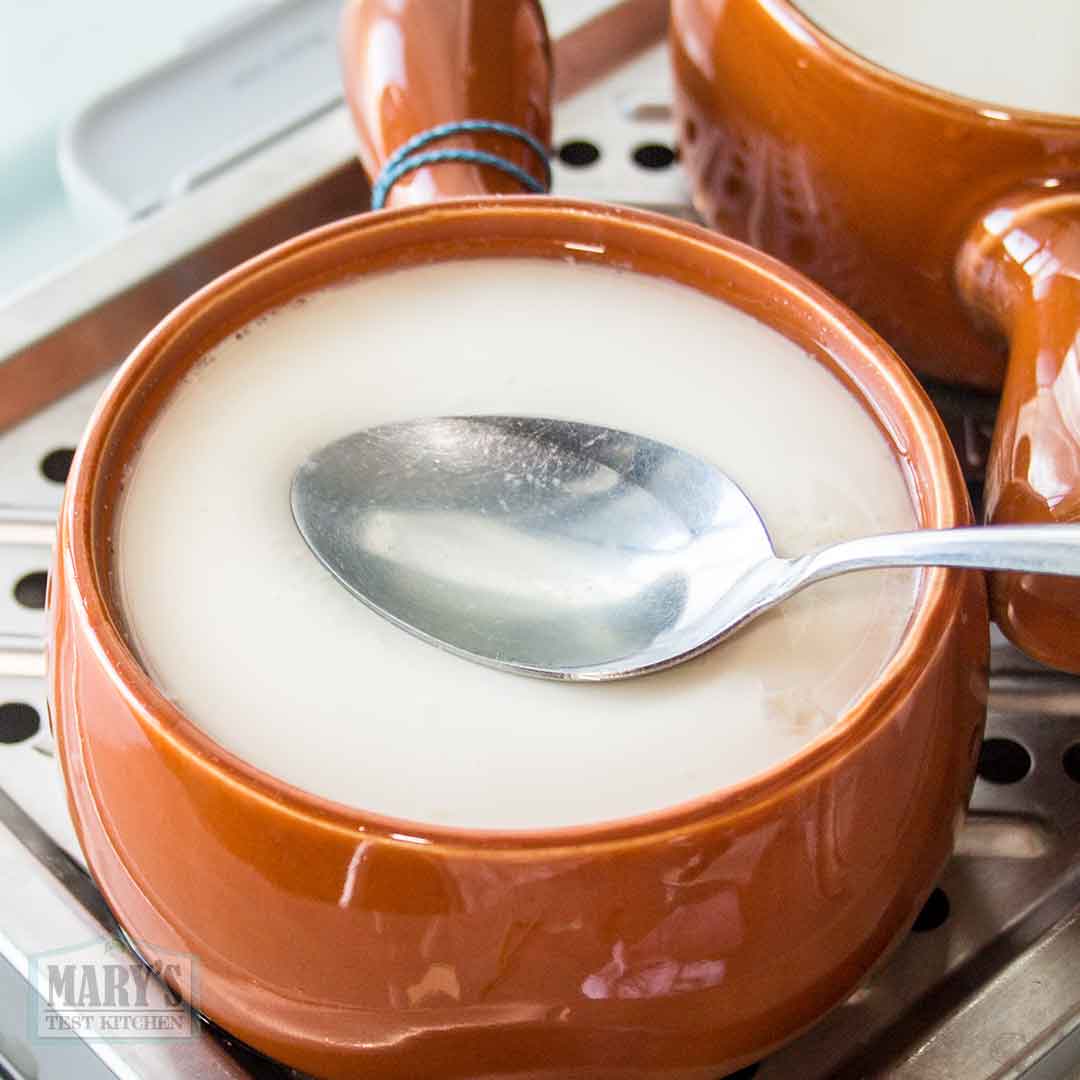
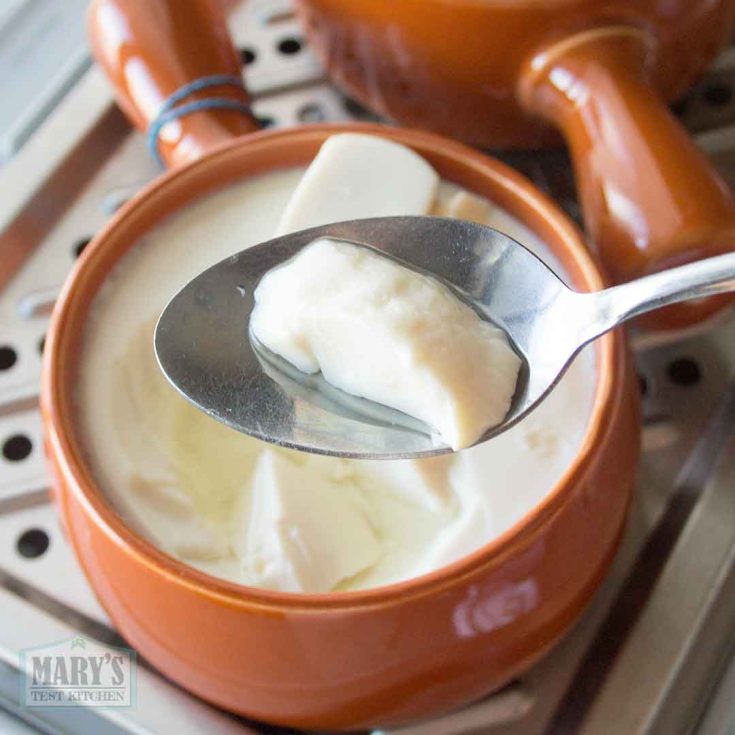
Method 2: Steamed Silken Tofu (My Preferred Method)
This is the method I recommend for most people.
Why?
- Uses cool soy milk (safer)
- No dramatic pouring
- Foolproof and repeatable
How It Works
- Cool the cooked soy milk to room temperature or colder
- Stir in dissolved GDL
- Place in a heat‑proof container
- Steam over boiling water for 15 minutes
This works with:
- A dedicated steamer
- A pot with a rack or trivet
- Rice cooker or Instant Pot with steam function
Results
Thick soy milk version (≈14g protein per cup):
- Smooth, silky, lightly firm
- Very similar to pour‑over, but prettier on top
- Richer flavor than store‑bought silken tofu
- Amazing for savory dishes and tofu scramble

Thin soy milk version (≈8g protein per cup):
- Much jigglier and more delicate
- More weeping
- Less savory, slightly more acidic
- Better for Cantonese dessert tofu (豆腐花 / dou fu fa)
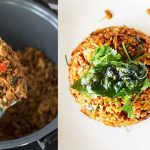
Serving Ideas
Savory
- Chopped green onion
- Fresh garlic
- Soy sauce + Chinese black vinegar
- Chili flakes
- Black sesame seeds
- Screaming hot oil poured on top
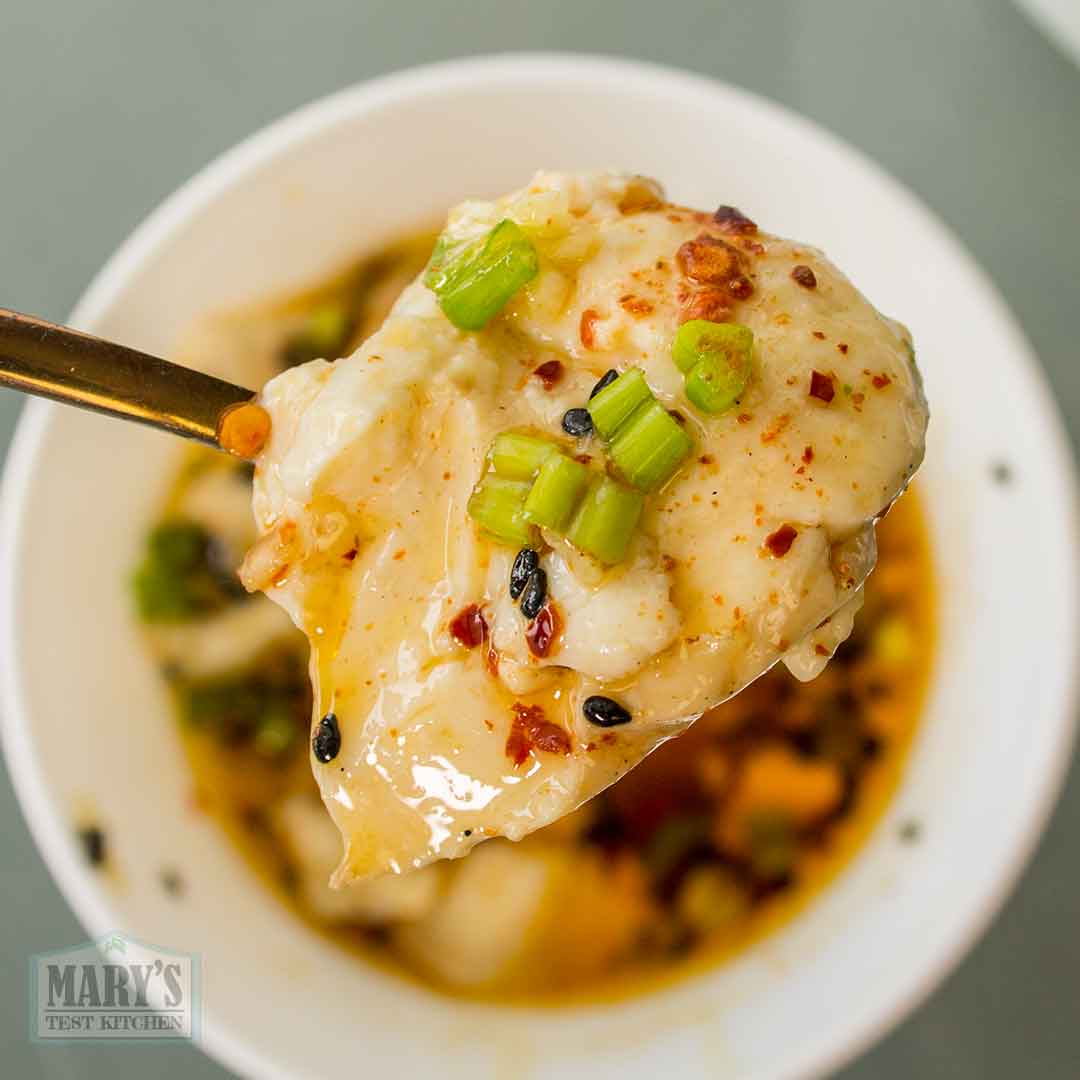
Simple, fragrant, and incredibly satisfying.
Sweet
- vegan condensed milk
- ginger brown sugar syrup
Light, sweet and refreshing and warming at the same time! You can have it hot or cold.
Homemade silken tofu keeps up to 3 days in the fridge.
Can You Make Silken Tofu in the Microwave?
I tried.
Using 150ml soy milk + ⅛ tsp GDL at high power resulted in… somewhat failure. Tofu did form but it was very ugly and made a mess in the microwave. I would not recommend doing it this way.
It might be possible at lower power, but for now this is a no from me.
Freezing Silken Tofu: The Unexpected Win
When GDL‑set silken tofu is frozen and thawed:
- Ice crystals form
- The gel structure transforms
- Layers and pockets appear
Unlike store‑bought silken tofu (which turns mushy), this homemade version became firmer and structured.
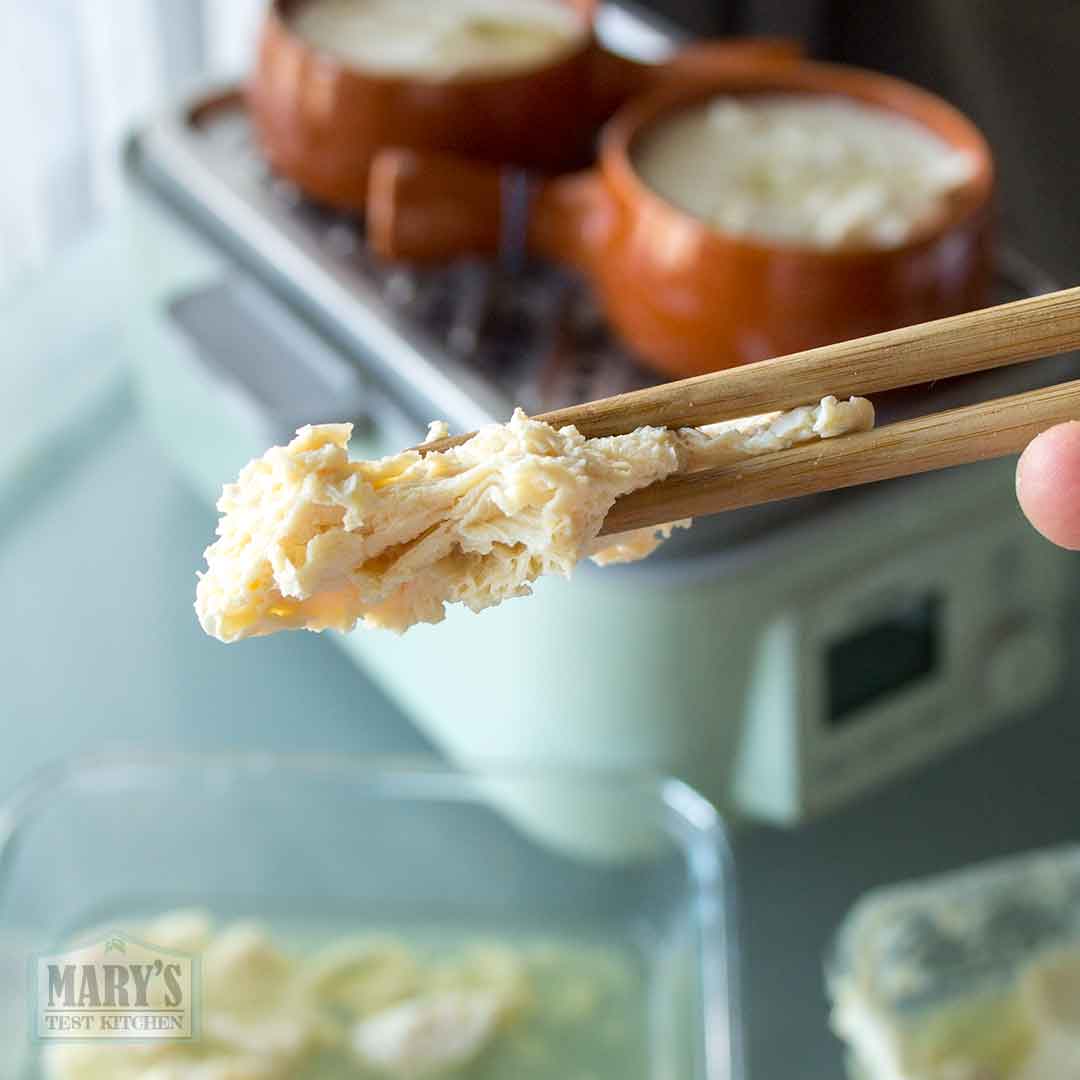
It immediately reminded me of my twice‑frozen tofu method for vegan fried chicken—where freezing creates flaky layers instead of sponge.
This has serious potential, and I’ll be experimenting more.
Nutrition Notes
I estimated:
- Thick soy milk: ~14g protein per cup
- Thin soy milk: ~8g protein per cup
This estimate is based on:
- Dry soybeans being ~36% protein
- Assuming ~85% transfers to the milk
- Assuming ~15% remains in the pulp
- Assuming all protein stays in the tofu, not the whey
⚠️ That last assumption is shaky.
I realize that cow milk whey absolutely contains protein; enough to support an entire sports supplement industry. Therefore, assuming soy whey has no protein is probably unrealistic. Commenters on previous videos have mentioned soluable vs insoluable protein; a concept I haven’t quite wrapped my head around. So treat these protein numbers as educated guesses, not lab‑verified facts.
Related Posts
- Original Steamed Silken Tofu with Gypsum (plus lemon & store‑bought tests)
- The Best Easy Tofu Scramble
- Best Vegan Fried Chicken
Final Thoughts
Silken tofu isn’t difficult or complicated to make but it is sensitive.
Coagulant choice, soy milk concentration, temperature, and method all matter. If you want consistent success at home, GDL + steaming is your best starting point.
If you try any of these methods, freeze experiments, or have requests for future tests, let me know. Happy tofu-making!💛
Homemade Silken Tofu with GDL (Pour-Over VS Steaming)
Make smooth homemade silken tofu with Glucono Delta Lactone (buy it with this link) and homeade soymilk. Choose firmer, easier to handle silken tofu for savory dishes or lighter, more jiggly tofu for desserts.
Ingredients
Thick Soy Milk (firmer, easier to handle)
- 225g dry soybeans (about 1¼ US cups)
- Water for soaking (at least 3–4× bean volume)
- 1200ml water for blending (5 US cups)
Thin Soy Milk (jiggly, dessert-style)
- 130g dry soybeans (about ¾ US cup)
- Water for soaking (at least 3–4× bean volume)
- 1200ml water for blending
Coagulant (GDL – Glucono Delta Lactone)
- 1200ml soy milk → 1 tsp GDL
- 600ml soy milk → ½ tsp GDL
- 300ml soy milk → ¼ tsp GDL
- 150ml soy milk → ⅛ tsp GDL
Equipment
- Blender
- Nut milk bag or large soy milk filter bag
- Large pot + spatula
- Thermometer (recommended)
- Fine strainer
- Heat-proof bowls or containers
- Steamer setup (for steaming method)
Instructions
Step 1: Soak the Soybeans
- Sort beans and discard any damaged or discolored ones.
- Cover with at least 3–4× their volume of water.
- Soak overnight in the fridge.
Step 2: Blend & Strain
- Drain soaked beans.
- Blend with the measured water until very smooth.
- Strain through a nut milk bag or soy milk filter.
- Squeeze firmly to extract as much milk as possible.
Step 3: Cook the Soy Milk
- Transfer soy milk to a pot.
- Heat over medium, stirring constantly and scraping the bottom.
- Bring to a gentle simmer.
- Cook 15–20 minutes, adjusting heat to prevent overflow.
- Stir any skin (yuba) back into the milk.
- Strain again to remove remaining bits.
- Adjust final volume back to 1200ml with hot water if needed.
Method A: Pour-Over Silken Tofu
Best for
- Experienced or confident cooks
- Smooth, slightly firmer silken tofu
Instructions
- Keep soy milk simmering
- Dissolve measured GDL in 1–2 Tbsp water in a heat-proof bowl.
- Strain hot soy milk once more.
- Pour soy milk into the bowl from 30cm / 1 foot above to evenly distribute GDL.
- Cover and rest 15 minutes.
- Do not disturb while setting.
Method B: Steamed Silken Tofu (Recommended)
Best for
- Beginners
- Consistent, foolproof results
Instructions
- Cool cooked soy milk to room temperature or colder.
- Stir dissolved GDL directly into the soy milk.
- Pour into a heat-proof container.
- Place in steamer over boiling water.
- Steam 15 minutes, covered.
- Remove and cool slightly before serving or refrigerating.
Notes
Homemade silken tofu is food-safe for up to 3 days in the fridge. It will weep more as it sits and get firmer so keep that in mind when planning to use.
Hello! Great article, very informative 🙂 just wondering about the soybean pulp which seems like it’s going to be thrown out. Is there a dish or anything you can make with that?
Hi Nichole,
So many! Just look up “okara recipes”. It’s used in traditionally in stews but also for fritters, breads and more.
Cheers,
Mary