Can you make tempeh with canned beans and save yourself some time? After my first attempt with canned chickpeas and navy beans didn’t work out, I was ready to try again!
This post contains affiliate links. As an Amazon Associate, I earn commission from qualifying purchases but rest assured, there is never any extra cost to you. Thanks for supporting my work!
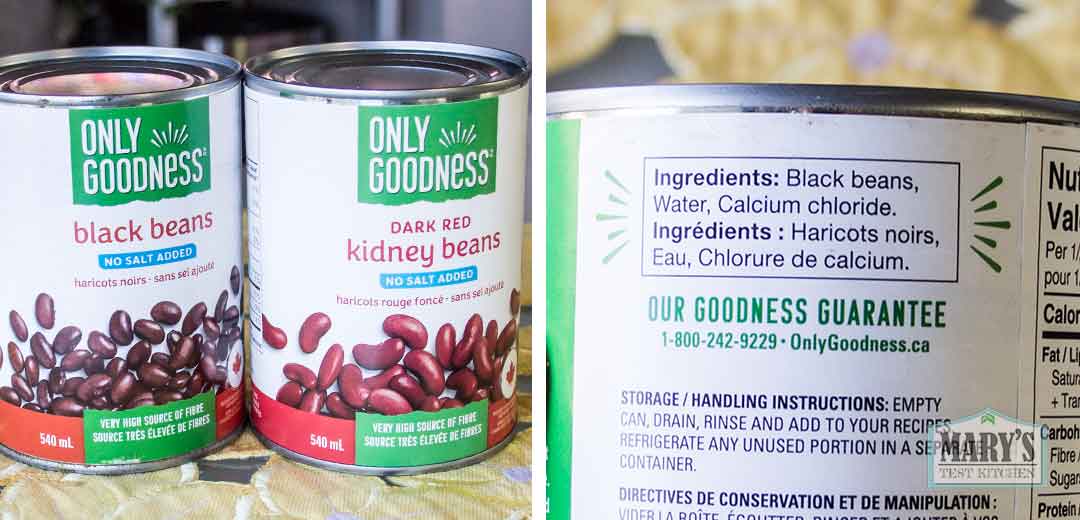
This time, I tested organic, salt-free canned black beans and kidney beans. Both contained just beans, water, and calcium chloride, an ingredient that helps beans hold their shape during cooking. I was hoping these beans would be less mushy and give the tempeh culture a better chance to grow.
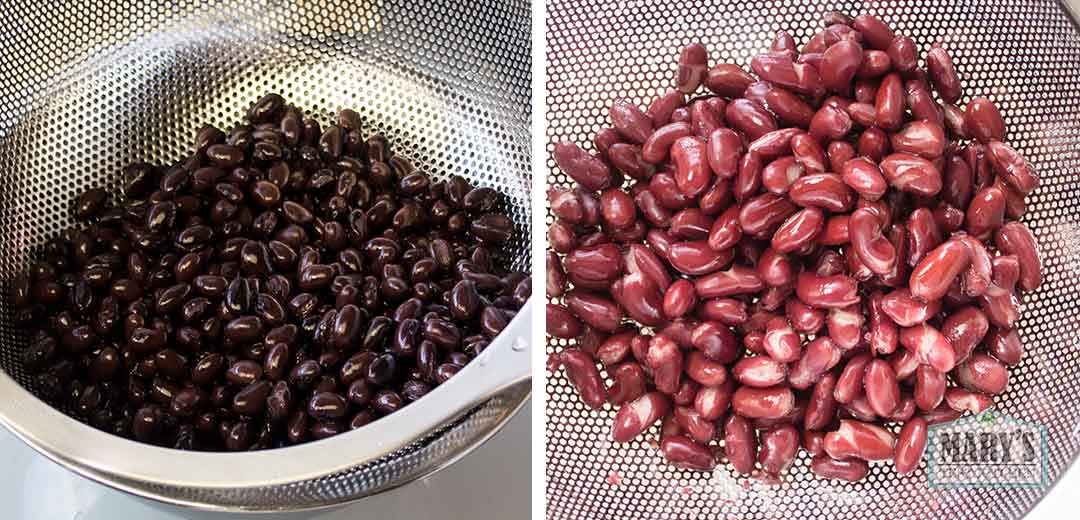
Black beans were requested by a viewer, while kidney beans are a personal favourite of mine. So, naturally, I had to test both.
Would they grow into proper tempeh blocks, or would we end up with another bean-shaped disappointment? Let’s find out!
Why Try Making Tempeh With Canned Beans?
Traditional homemade tempeh starts with cooked beans, which need to be prepared, cooled, and dried before adding tempeh starter. Canned beans could potentially save a significant amount of that prep time.
The catch is moisture. Tempeh needs the right balance of moisture, warmth, and airflow to develop a healthy network of mycelium. Beans that are too wet or mushy can make it difficult for the culture to grow evenly and bind everything together.
In my first canned bean experiment, the chickpeas and navy beans didn’t develop into tempeh I was comfortable keeping for food safety reasons. The beans were either too soft or uneven in texture, and the results were inconsistent.
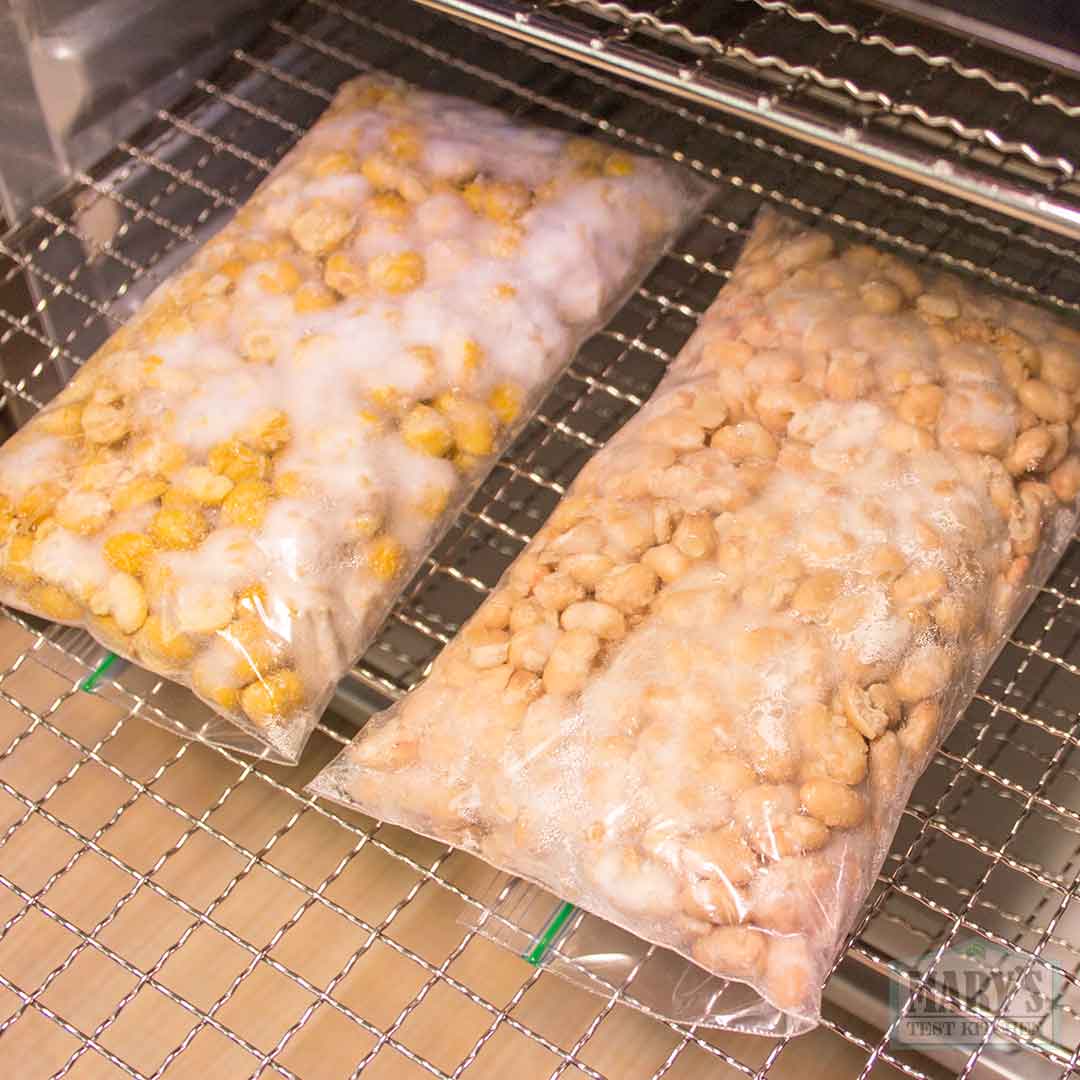
For this second round, I chose salt-free canned beans containing calcium chloride. I also changed my drying method and used an air fryer with a dehydrator setting to remove excess surface moisture.
Ingredients and Equipment
For this experiment, I used:
- 1 can of organic, salt-free black beans
- 1 can of organic, salt-free kidney beans
- 1 teaspoon white vinegar per batch
- Commercial tempeh starter
- A Multi-function airfryer with dehydrating and proofing modes (paid link)
- A rack for resting the fermenting tempeh
I used store-bought tempeh starter rather than homemade starter to keep the experiment as consistent as possible.
Step 1: Dry the Canned Beans
The first challenge was getting the beans dry enough on the surface without drying them out too much.
Excess surface moisture can interfere with tempeh development, but beans that are too dry can also make it difficult for the mycelium to establish itself.
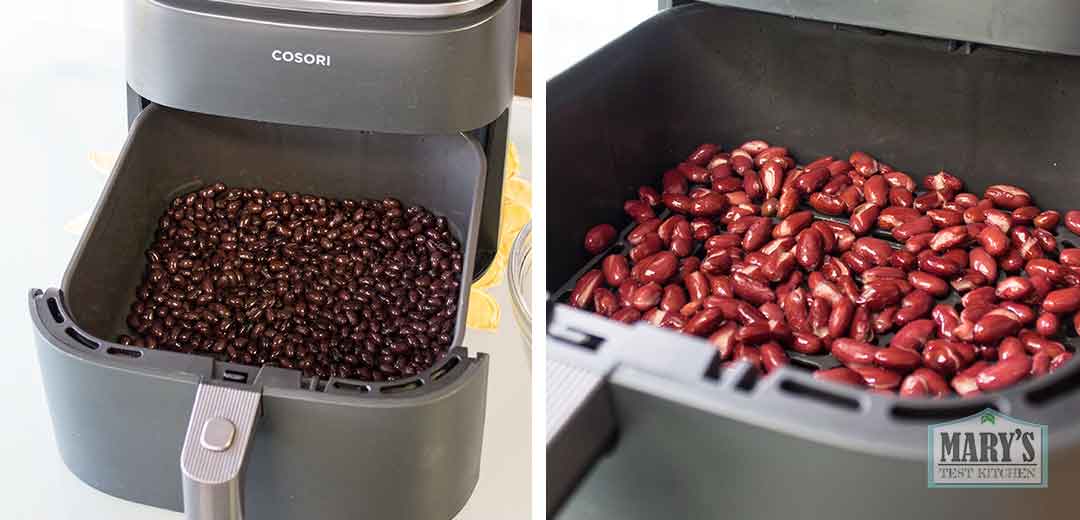
Drying the black beans
I started by trying to use the dehydrator rack, but the black beans were too small and would fall through.
Fortunately, my air fryer has a dehydrator setting. I removed the rack and started with the default temperature of 135°F (57°C) for 30 minutes.
There was just one problem: the tops were dry, but the bottoms were practically a swamp!
For the next round, I put the beans back in at the same temperature, tossing them after short intervals. I repeated this a couple of times until the beans felt dry on the surface.
This worked much better. The beans stayed more intact, without the mushy, powdery breakage I experienced during my previous experiment.
Drying the kidney beans
Kidney beans are larger, so I thought the rack might work better for them.
Nope. The bottoms were still wet, and some beans fell through anyway.
So much for that brilliant idea!
However, the rack did help the kidney beans dry a little more than the black beans had. For the second round, I dried them directly in the basket, tossing them partway through and returning them for another short session.
Finally, they were dry on the surface.
The goal for both batches was the same: dry but not too dry.
Step 2: Add Vinegar
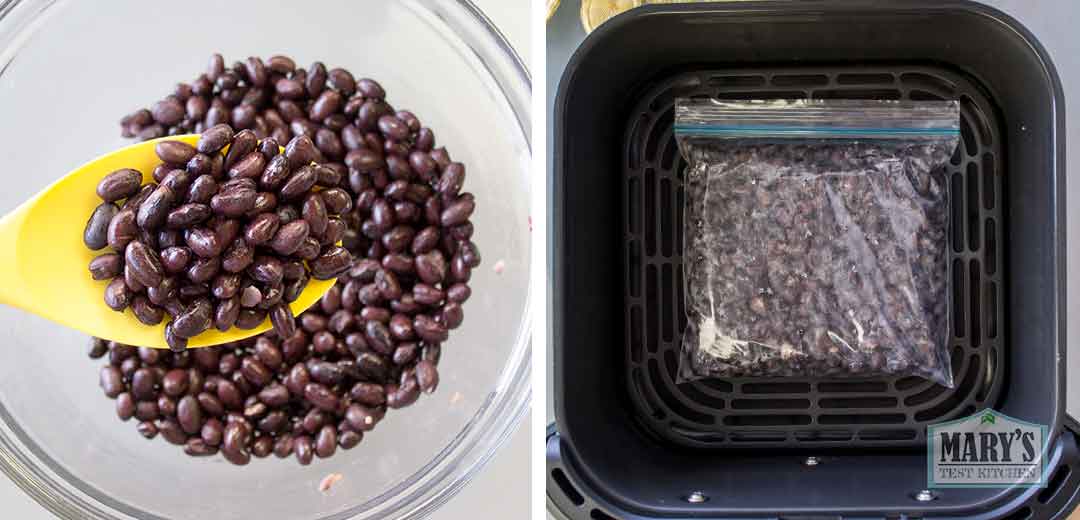
Next, I added 1 teaspoon of vinegar to each batch.
The vinegar adds a little moisture back into the beans, so I mixed everything thoroughly to distribute it evenly.
It also lowers the pH, helping discourage unwanted microbes and creating a more favourable environment for the tempeh culture.
Step 3: Inoculate With Tempeh Starter
The beans needed to cool before I added the tempeh starter.
Tempeh is commonly made using fungi such as Rhizopus oryzae and Rhizopus oligosporus. These cultures thrive within a suitable temperature range, so it’s important not to add the starter while the beans are still too warm.
I used commercial starter for both batches and stirred it in for a full minute to distribute it as evenly as possible.
Even distribution matters because I wanted to give the mycelium the best chance of growing throughout the beans rather than leaving isolated patches without sufficient starter.
Step 4: Incubate the Tempeh
For incubation, I used the proof setting on my air fryer.
My larger dehydrator works well at the warmer end of the typical tempeh incubation range, but I wanted to try a lower temperature of 30°C (86°F), which is sometimes used to encourage flavour development.
The proof setting also has a very low fan speed, giving the beans some airflow without excessive air movement.
Black bean tempeh
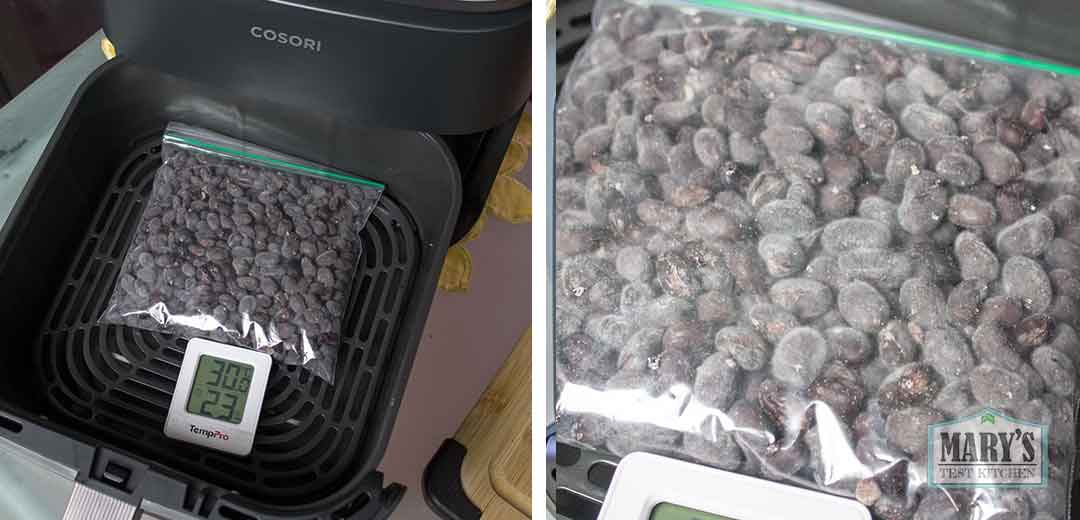
For the black beans, I set the proof temperature to 30°C (86°F) for 12 hours. After that, I let the beans continue fermenting at room temperature, around 24°C (75°F).
The next morning, the developing mycelium seemed to be keeping the beans warm. The temperature was still around 30°C, even though the air fryer had finished running eight hours earlier!
At 20 hours of fermentation, there was a light layer of mycelium developing across the beans. It wasn’t perfectly even, but it looked more promising than the previous chickpea and navy bean batches.
Kidney bean tempeh
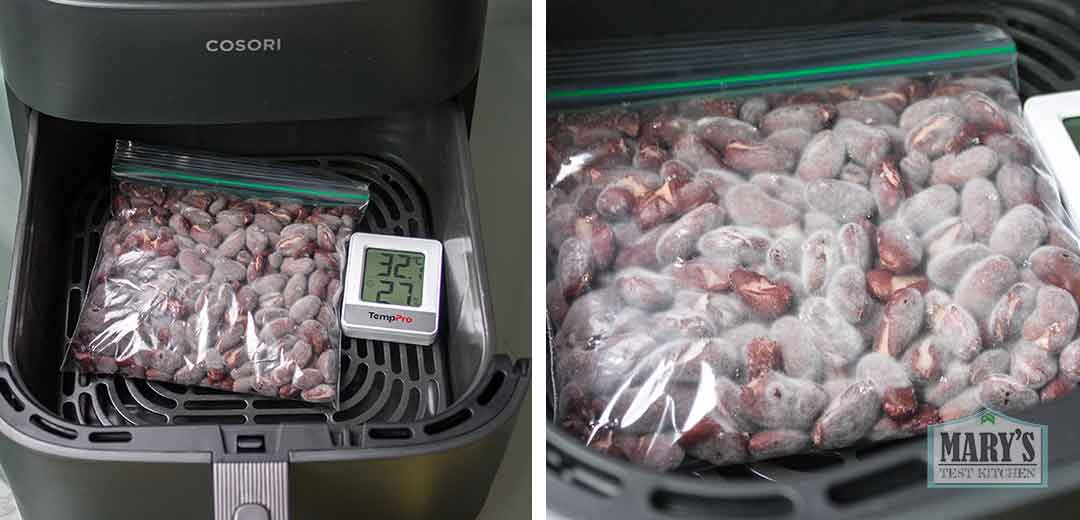
For the kidney beans, I tried a slightly warmer incubation temperature of 32°C (90°F) for the initial 12 hours.
When I checked them after 22 hours of fermentation, the mycelium development looked slightly more advanced than on the black beans at their earlier check. It was also fairly even, apart from one small corner.
Since the bean types and incubation conditions differed, this wasn’t a controlled comparison of temperature alone. Still, both batches looked promising at this stage!
Step 5: Check the Tempeh Development
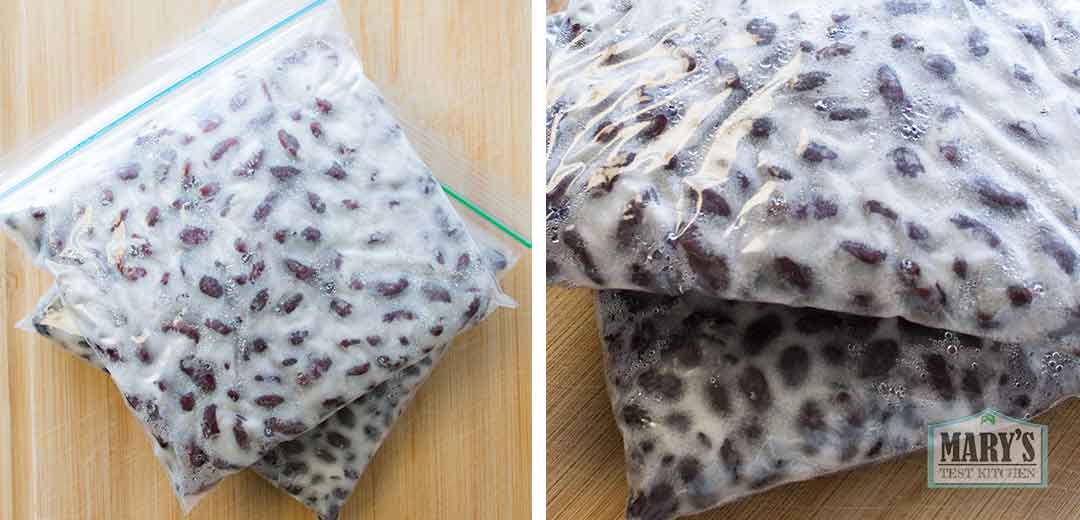
After another 15½ hours at room temperature, the black bean tempeh had developed a thicker layer of mycelium covering more of the beans.
However, it still wasn’t as firm as I wanted. Some beans around the edges didn’t seem to be bound together very well.
Given my previous experience with a visually questionable batch, I decided to refrigerate it rather than push the fermentation further.
The kidney beans had fermented for about 41½ hours by the time I was ready to stop. Their surface temperature was around 30°C, and I refrigerated them as well.
Time for the moment of truth!
Appliance Highlight
For this experiment, I used the Cosori Turboblaze (which I have done a review for before). I was really delighted that I could do the drying step and incubation steps in the same appliance. Plus, it held the fermentation temperatures more accurately and steadily than any method I’ve tried before (and I’ve tried a lot!)

While I didn’t work with the company on this project, I would still highly recommend the Turboblaze. It continues to be my daily driver when it comes to air fryer at home. And now I love it for these tempeh experiments. If you’re looking for an air fryer that’s more than an air fryer,A Multi-function airfryer with dehydrating and proofing modes (paid link) (paid link)
Results: Black Bean Tempeh
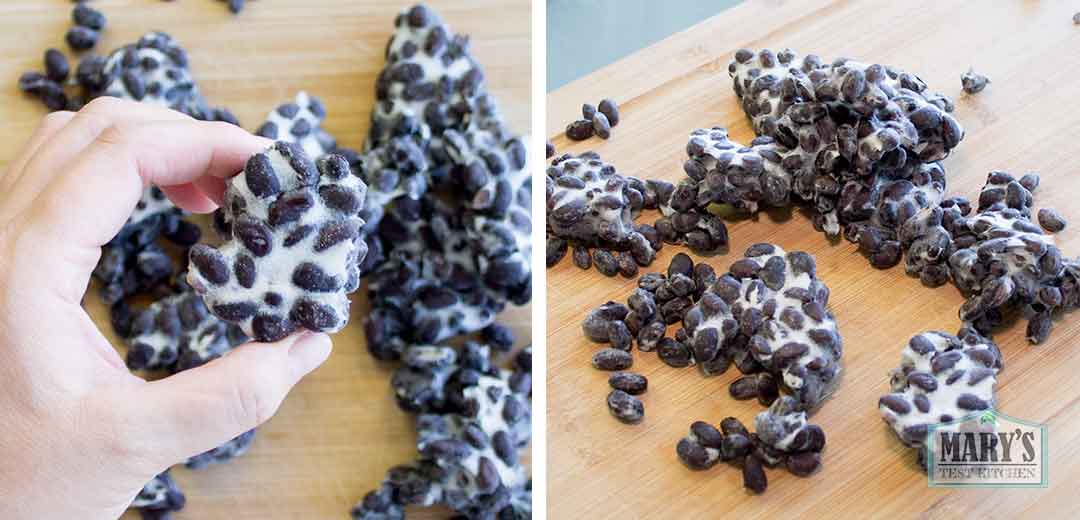
The black bean tempeh was crumbly. The mycelium simply hadn’t developed a thick or strong enough network to hold the beans together into a firm block.
But the smell was lovely!
It had the characteristic fresh-tempeh aroma: slightly sweet and mushroomy, reminiscent of a steamed bun with a lighter, brighter mushroom scent rather than earthy cremini mushrooms.
I could see tiny speckles in the fuzz that looked like sporulation beginning, but there were no off smells or ammonia.
The inside looked beautiful when sliced, and the texture was surprisingly good. The beans remained firm and dense without being tough, with an almost creamy quality.
The flavour combined the taste of black beans with the distinctive aroma of fresh tempeh.
I wouldn’t call it perfect tempeh, though. A good, well-developed block should be firmer and hold together more easily. I suspect the bean hulls and the relatively thin mycelium network contributed to the crumbling.
How I used the black bean tempeh
A couple of days later, I added the black bean tempeh to a Cantonese-inspired tomato tofu braise with ginger, scallions, vegan oyster sauce, and a little hoisin sauce for sweetness.
It was a great fit!

The black bean flavour worked beautifully with the sauce, while the tempeh added extra umami and a dense, creamy texture that balanced the smooth, custard-like tofu.
I could also see this working well in burritos, chili, and other dishes where you’d normally use black beans. The tempeh adds another layer of flavour without losing the character of the original bean.
Results: Kidney Bean Tempeh
The kidney bean tempeh was the more successful block structurally.
It smelled just as promising, with that characteristic fresh-tempeh aroma alongside the flavour of kidney beans.
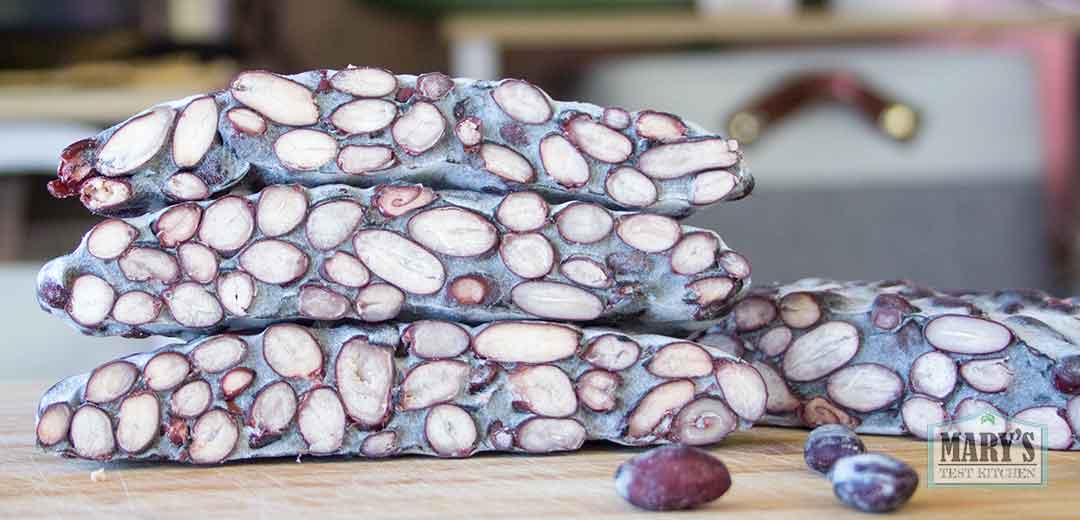
The texture was similar to the black bean version: firm and dense, but not quite as firm as conventional soybean tempeh.
The biggest difference was that this block actually held together!
When I broke it open, I could see the shiny bean hulls. My suspicion is that the hulls make it harder for the mycelium to grip the beans and bind them into a stronger block.
The fungus was putting in the work, but those hulls weren’t making its job easy.
Air-fried kidney bean tempeh
First, I cubed the tempeh, sprayed it with oil, and seasoned it with salt, onion powder, garlic powder, and nutritional yeast. Then I air-fried it for six minutes.
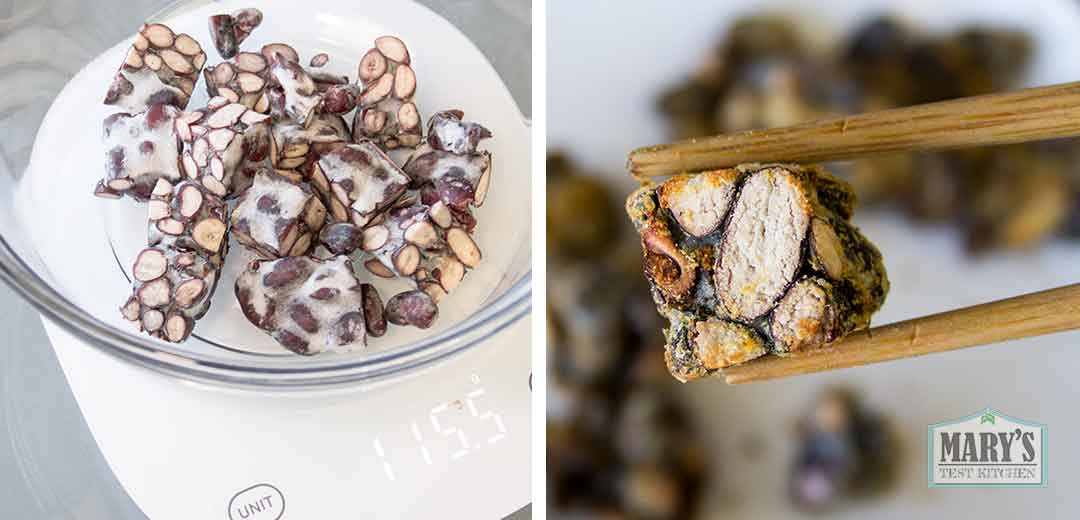
The little crumbled pieces turned out crispy and tasty.
The cubes were less exciting. They were only slightly crispy on the outside, while the inside was dense and a little dry.
They needed something more.
Kidney bean tempeh bacon
My solution was to use my classic vegan bacon marinade:
- Soy sauce
- Maple syrup
- Paprika
- Nutritional yeast
- Liquid smoke
I coated both sides of the tempeh slices and let them marinate for about five minutes while I preheated a pan over medium heat.
After spraying the pan with a little oil, I cooked the slices for a few minutes on each side.
The result was delicious!
Unlike my previous attempt at making lazy tempeh bacon without marinating, this version was genuinely good. It wasn’t crispy like traditional bacon; instead, it was dense and chewy, with a smoky, savoury flavour.
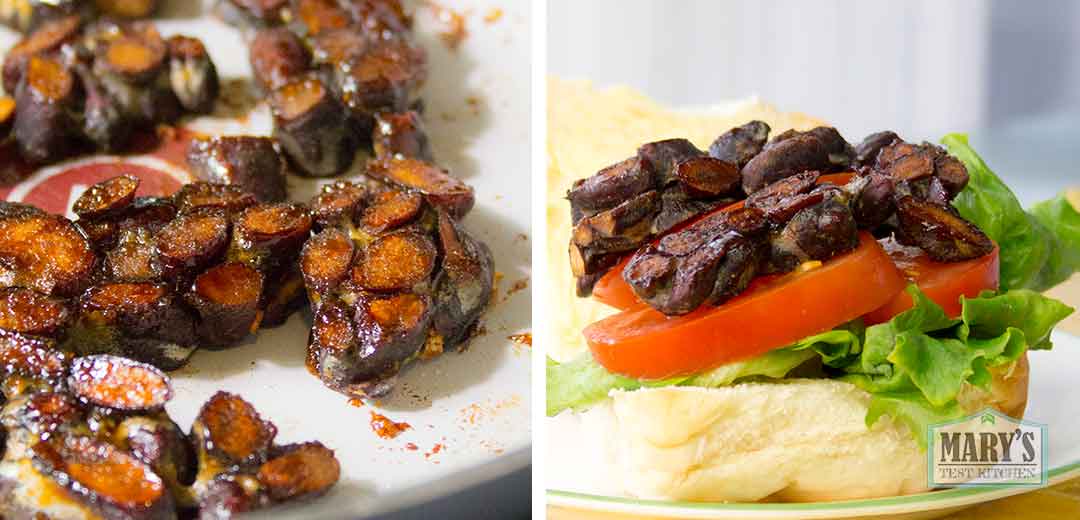
It worked beautifully in a vegan BLT.
Turns out kidney beans can bring home the bacon. Plant-based bacon, anyway!
What I Learned From This Experiment
Neither batch was perfectly firm, conventional-style tempeh, but both produced some promising results.
Here’s what stood out:
- Dry with Short Runs & Tossing. Drying the beans while tossing them periodically worked better than simply leaving them in the dehydrator basket for the entire session.
- Canned Bean Texture Matters. These canned beans were easier to work with than the chickpeas and navy beans from my previous attempt, although I can’t attribute that difference to calcium chloride without repeating with different brands of beans.
- Incubation conditions matter. The proof setting gave me a way to maintain a lower temperature with gentle airflow during the initial incubation.
- Bean hulls may affect the final texture. Both batches had visible hulls, and I suspect these contributed to the weaker binding compared with typical soybean tempeh.
Because I changed several variables between experiments, I can’t say which single factor made the biggest difference. More testing would be needed to isolate the effects of the bean type, additives, drying method, and incubation temperature.
Would I Make Canned Bean Tempeh Again?
Yes!
Although neither batch was perfectly perfect, I was happy with the results. The black bean tempeh brought extra umami to a tofu braise, and the kidney bean tempeh made a surprisingly good vegan BLT.
Canned beans could save some prep time, but there’s still work involved in drying them properly and managing the fermentation conditions.
If you find salt-free canned beans on sale, this could be an interesting experiment to try. Just remember that homemade tempeh needs proper fermentation practices and thorough cooking before eating.
Have you tried making tempeh with anything other than soybeans? And what should I ferment next? Let me know in the comments!
Thanks for following along with another experiment from Mary’s Test Kitchen!