
In this tutorial, I’ll show you two ways to make whole roasted garlic bulbs: one classic method and recipe for oil-free roasted garlic. Roasted garlic can really transform any dish that you may have used regular garlic for giving it a more mellow, sweet flavour. Updated August 27, 2026.
Video tutorial for Whole Roasted Garlic Bulbs – Traditional and Oil-free
Why Make Roasted Garlic with Whole Bulbs?
Roasting whole garlic bulbs gives you more roasted garlic for less work! And if you’re looking at this recipe, you probably already know:
- roasted garlic is super satisfying to squeeze out from the whole bulbs,
- it has a sweet and mellow flavor compared to fresh, pungent garlic, and
- roasted garlic is convenient to add directly into hummus or dips, sauces (like my Lemon Roasted Garlic Sauce), or even slathered directly on toast!
Classic Versus Oil-Free
Both methods make delicious, caramelized roasted garlic cloves that are soft and spreadable. However, there are differences so you might choose one based on the dishes you’re planning to make.
Classic Roasted Garlic with Oil makes
- silky soft texture that’s easy to spread
- richness from the oil for a creamier mouthfeel
- the oil carries oil-soluble flavors for more dimension
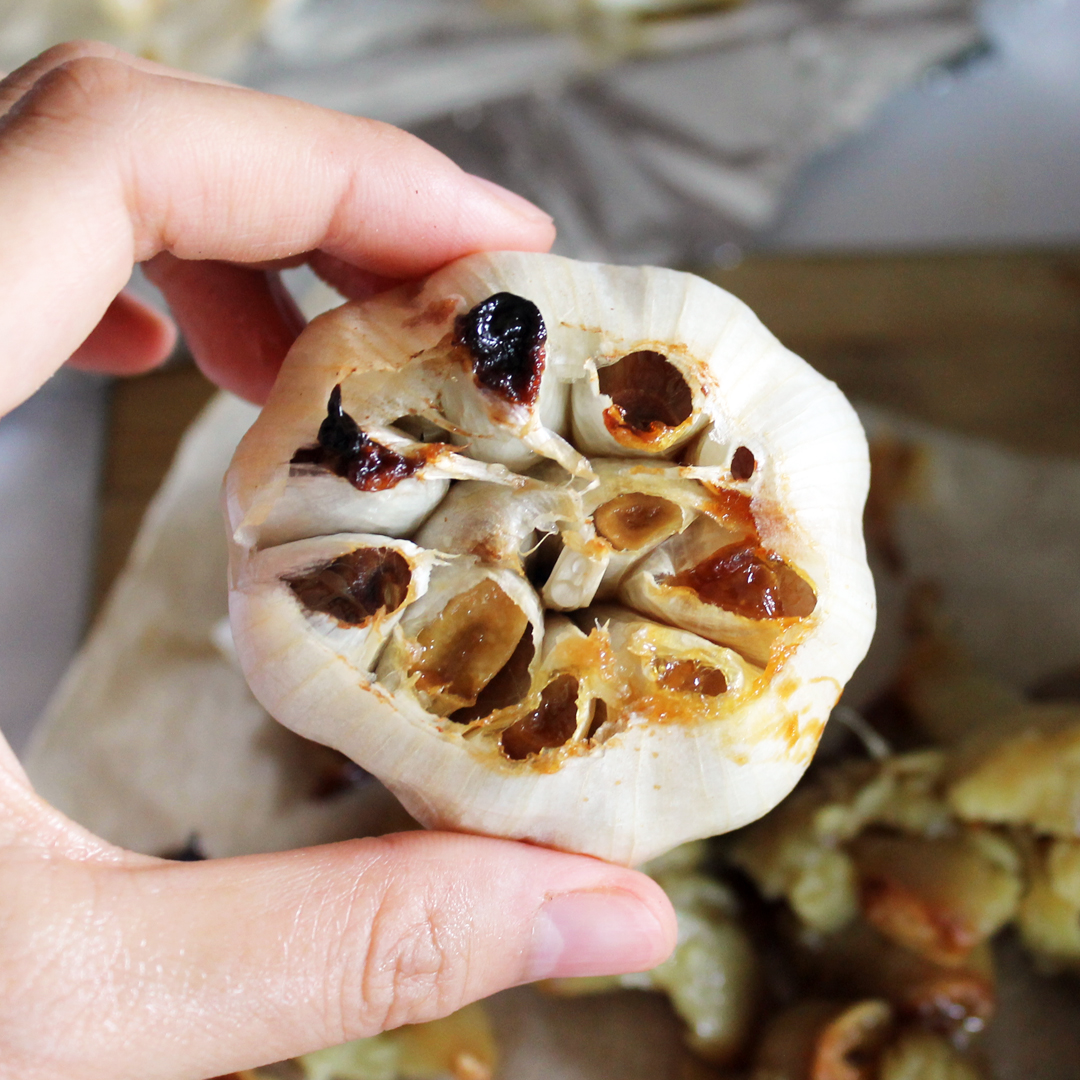
Oil-Free Roasted Garlic
- cuts down on the calories and fat
- you can still make it if you’re low on oil in the pantry
- is still soft and spreadable but not as silky as with oil
- missing some of the dimension of oil-roasted garlic but can be kicked up with acidic ingredients and salt
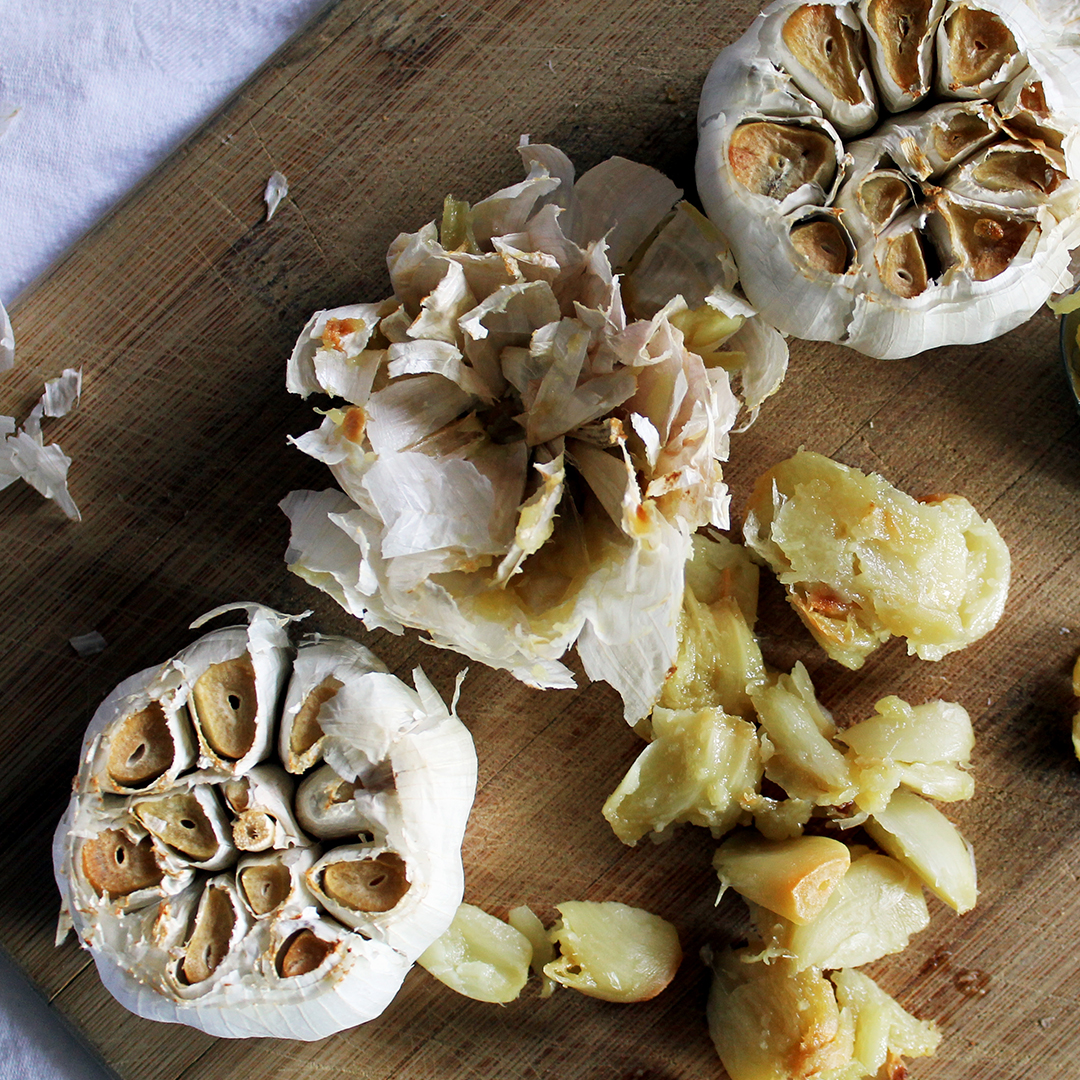
Whole Roasted Garlic - Classic or Oil-free Methods
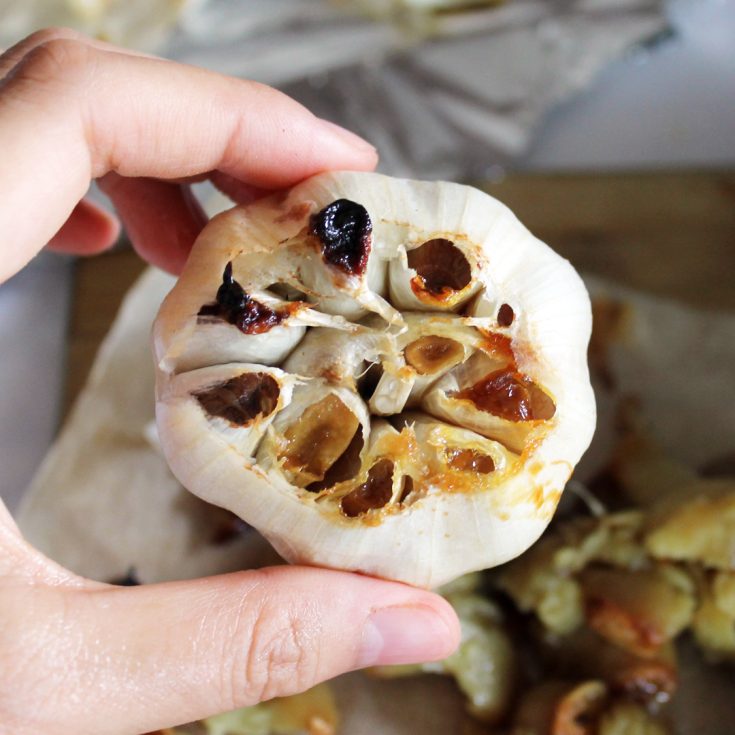
Caramelized sweet and soft roasted garlic easy in your oven or air fryer. Choose the Classic version or Oil-Free to transform any dish.
Ingredients
- 3 whole bulbs of garlic (or more; it's up to you)
- 3 teaspoons of oil (use olive oil or your favorite) or none for oil-free
Equipment
- baking pan or casserole dish with lid
- aluminum foil to cover baking pan
- parchment paper
Instructions
For Classic:
- Preheat oven to 425°F OR airfryer to 400°F.
- Cut 1/4" slice off the top of each garlic bulb (the side with the pointy tips up) and add 1/2 to 1 tsp of oil to the cut tops of each. Sprinkle salt if desired.
- Place a piece of parchment on the bottom of your baking pan or casserole dish. Place the garlic bulbs in with the cut sides up. Cover loosely with another piece of parchment paper.
- Cover the baking pan tightly with aluminum foil OR your casserole dish with its lid.
- For OVEN roast 425°F for 1 hour (middle rack). For AIR FRYER run at 400°F for 50 minutes to 1 hour.
For Oil-Free:
- Preheat the oven to 400°F or air fryer to 375°F.
- Cut 1/4" slice off the top of each garlic bulb (the side with the pointy tips up).
- Place a piece of parchment on the bottom of your baking pan or casserole dish. Flip the garlic bulbs to place cut sides DOWN.
- Cover the baking pan tightly with aluminum foil OR your casserole dish with its lid.
- For OVEN roast 425°F for 45 minutes (middle rack). For AIR FRYER run at 400°F for 40 minutes.
Notes
For all: ovens and air fryer temps can vary a bit so check on your garlic about 10 minutes before and gauge the exact time you need from there.
For AIR FRYERS: if you don't have a dish to fit, you can make a envelope with foil. Place the bulbs in a row in the middle of a sheet, Overlap the sides to cover, then roll up the short ends to seal.

How long would it keep in the fridge? Can you freeze it?
I’d say up to a week or so. I haven’t tried freezing but I’m sure it would be fine as long as you wrapped them up really well so they don’t stink up everything in there 🙂 Good luck! – Mary