If you’ve ever wanted to learn how to make tempeh at home but felt intimidated by the process, here’s the shortcut: skip whole beans.
Why Split Peas Make Tempeh Easier
I’ve been making tempeh for over 6 years and over time, I have found that if I have to hull the beans myself, I will simply procrastinate. Traditional soybean tempeh requires several preparation steps before fermentation can even begin:
- Soaking
- Removing the hulls
- Splitting the beans
- Cooking
- Drying
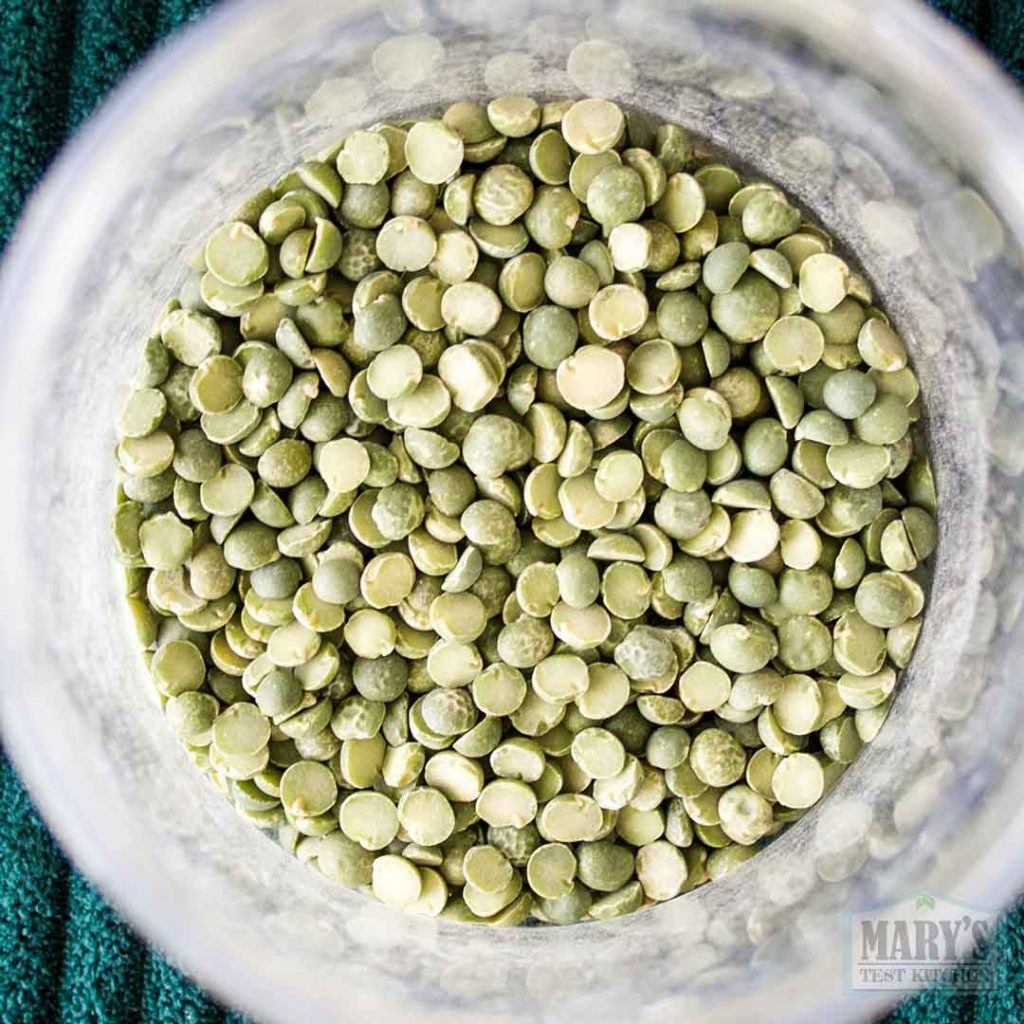
I’ve tried looking for split soybeans but haven’t been able to in Canada at a price that makes sense. But luckily there are split legumes at the grocery store that work just as well! Split peas eliminate some of the most tedious work immediately. Because they’re sold already split and dehulled, you can skip the labor-intensive prep that discourages many first-time tempeh makers.
The lack of hulls isn’t just convenient; it also improves your odds of success. The fungus used to make tempeh, Rhizopus oligosporus, grows best when it can easily colonize the surface of each piece of legume. Excess hull material can slow growth and lead to patchy mycelium development.
The result is cleaner-looking tempeh with more reliable fermentation.
What You’ll Need
- dried split peas or other split legumes ( I used 3/4 cup or 150 grams of split peas for the first batch and also made a batch with fava beans in the video above)
- 1 teaspoon vinegar (or multiply for larger batches)
- Tempeh starter culture containing Rhizopus oligosporus
- A shallow container, tray, or perforated plastic bag
- A warm place for incubation
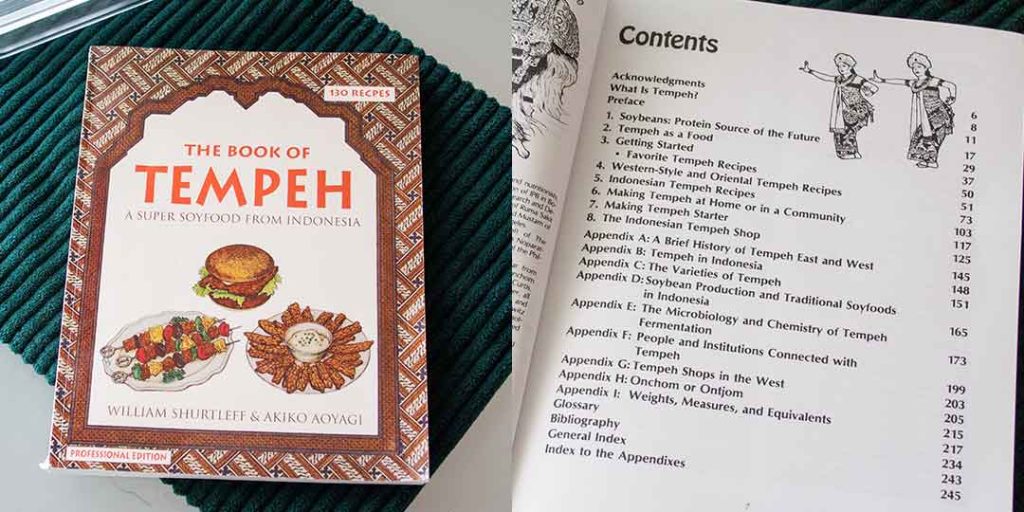
You don’t need it as there are lots of tempeh resources online, but I found The Book of Tempeh by Shurtleff and Aoyagi very helpful over my 6 year tempeh-making journey. It’s a great reference that thoroughly explains everything about tempeh: how to make it at home, at a larger scale, and commercially; the varieties of tempeh you can make and which to avoid; recipes (both Western and Indonesian); history; and even the chemistry of tempeh.
About Tempeh Starter
I used commercial tempeh starter from Cultures for Health but you won’t have to buy new starter every time. Once you’ve successfully made tempeh, you can harvest spores from mature tempeh and create your own starter culture for future batches.
Starter cultures will become less effective over time. But commercial freeze-dried cultures can last a surprisingly long time. For example, even though the starter I used in the video was unearthed from the back of my fridge and was expired 5 years ago, it still worked quite well as you can see in the video.
On the other hand, homemade starters should really be used within the first month even if you store it in the fridge.
If you or anyone you’ll be sharing tempeh with is allergic to soy, choose a soy-free starter.
Step 1: Soak the Split Peas
This step is technically optional, but highly recommended.
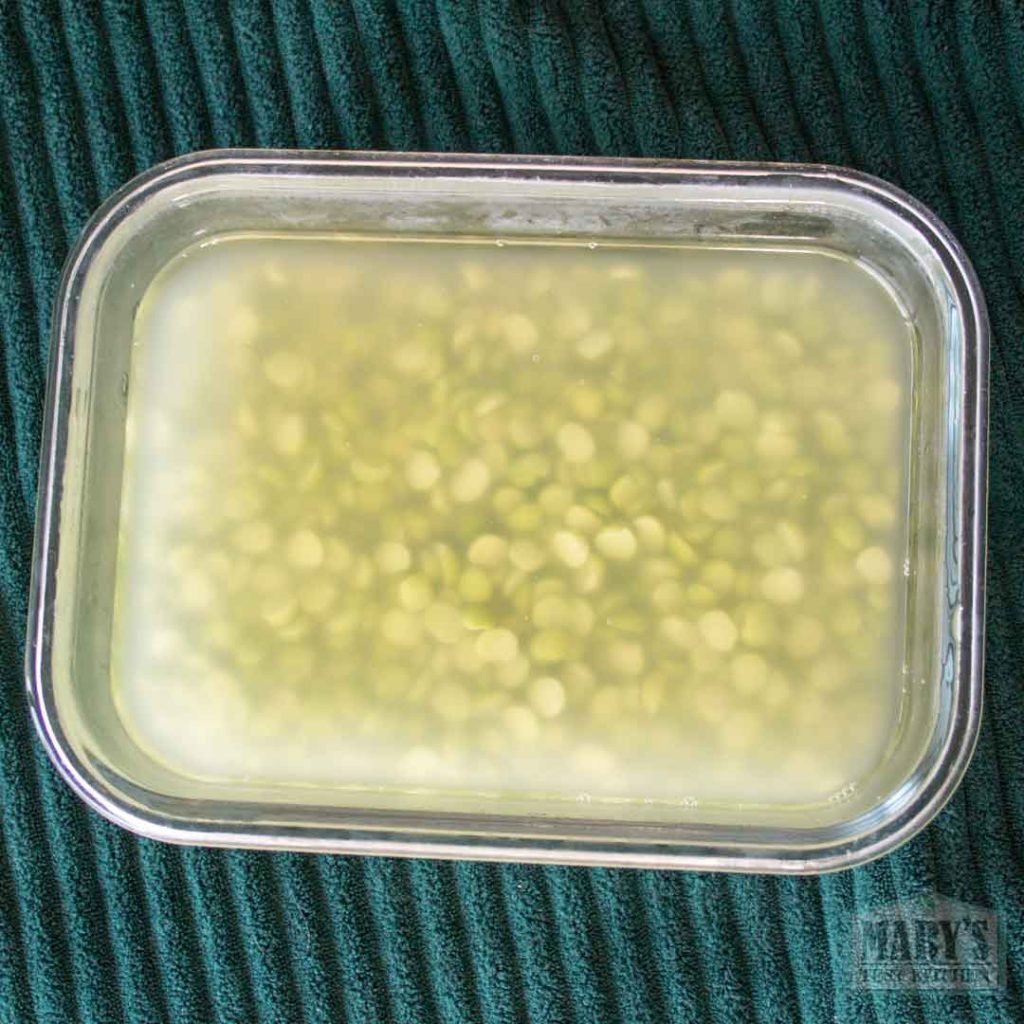
Cover the split peas with water and soak them overnight. The soak helps them cook more evenly and reduces cooking time. If you’re feeling adventurous, this method works well with split fava beans too.
Step 2: Cook Until Tender but Not Mushy
The goal is fully cooked legumes that still hold their shape.
You can cook split peas in a pot on the stove or in a rice cooker. While pressure cookers and Instant Pots can work, they’re more likely to overcook the peas, resulting in a mushy texture that makes fermentation more difficult.
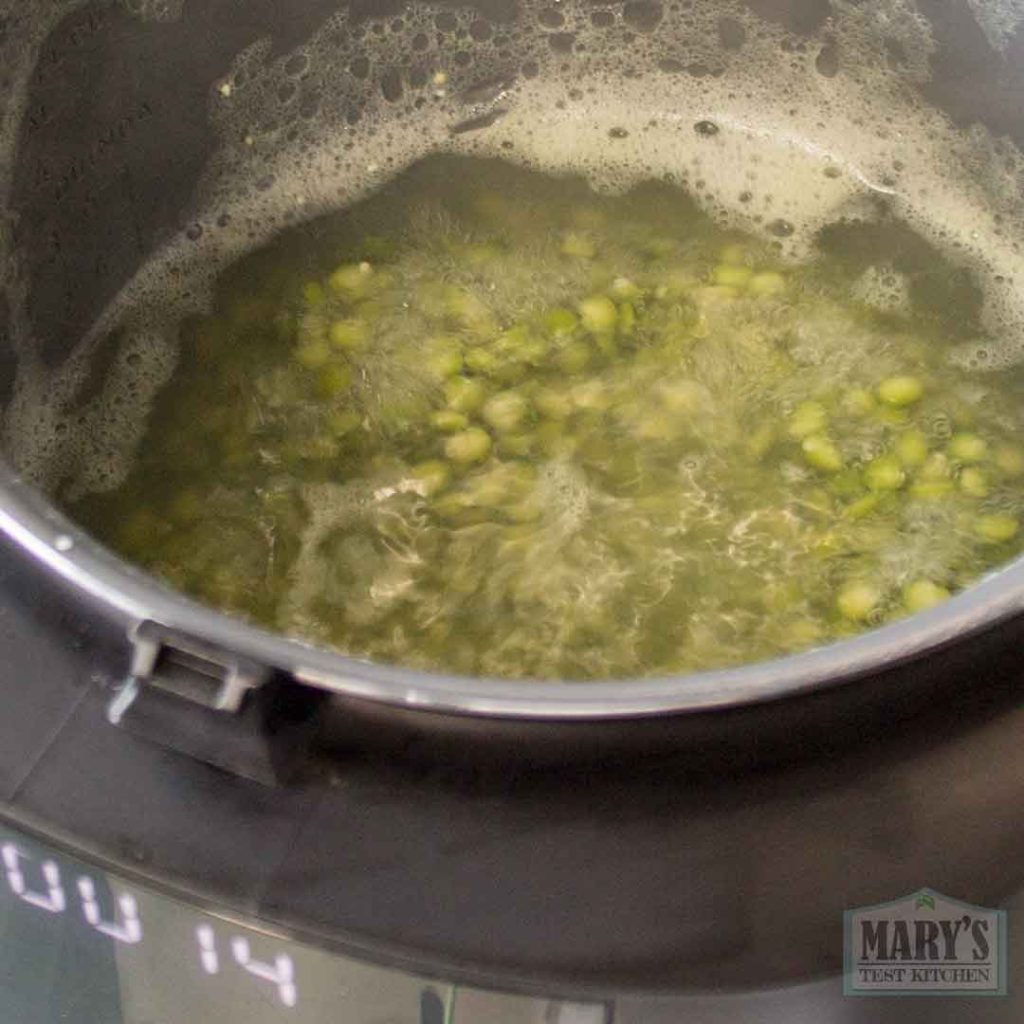
Cook the peas until they’re tender enough to bite through but not falling apart. Mushy legumes are great for many things but not ideal for tempeh.
Step 3: Drain and Acidify
Once the peas are cooked, drain them thoroughly and return them to the warm pot.
Stir in about 1 teaspoon of vinegar.
Acidifying the legumes helps create an environment that favors Rhizopus oligosporus while discouraging unwanted bacteria and molds. Most modern tempeh-making methods include this simple but effective step.
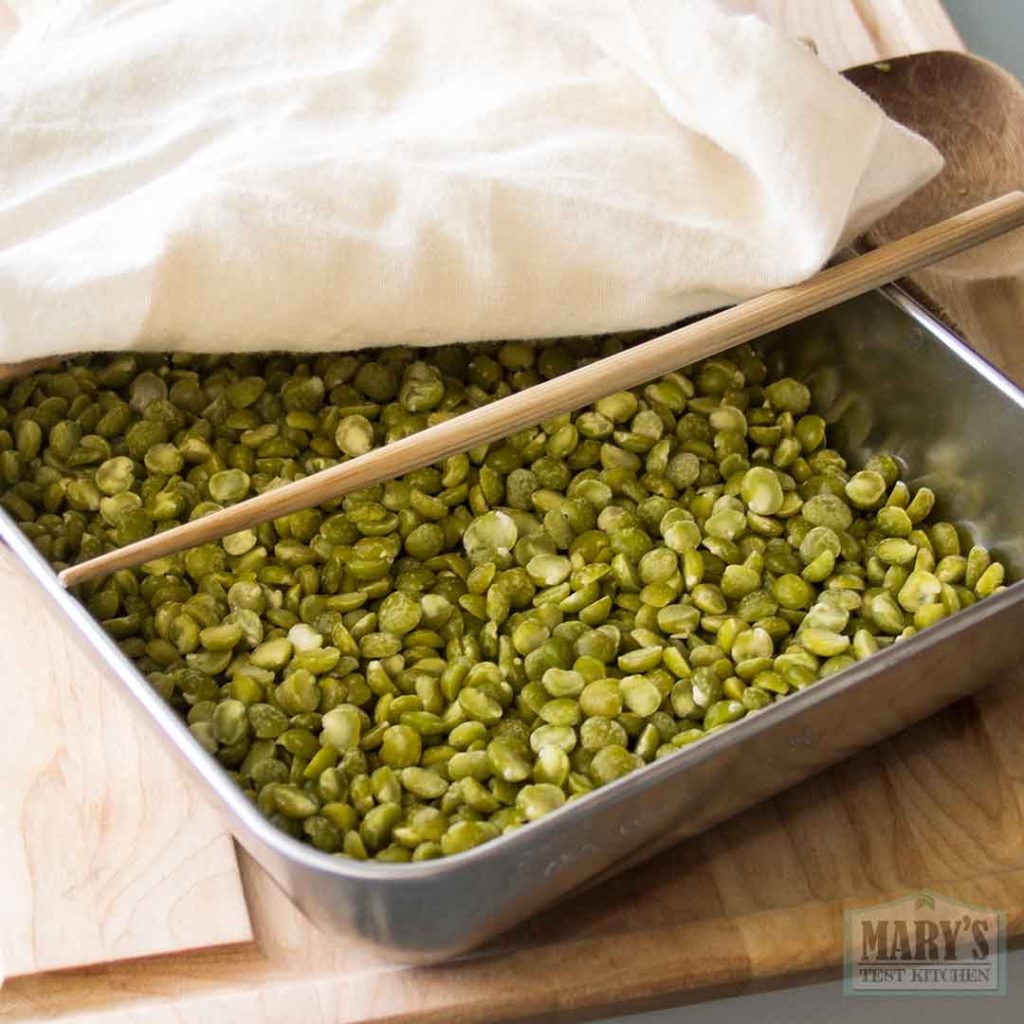
Step 4: Dry the Surface
This is one of the most important and most overlooked steps in tempeh making.
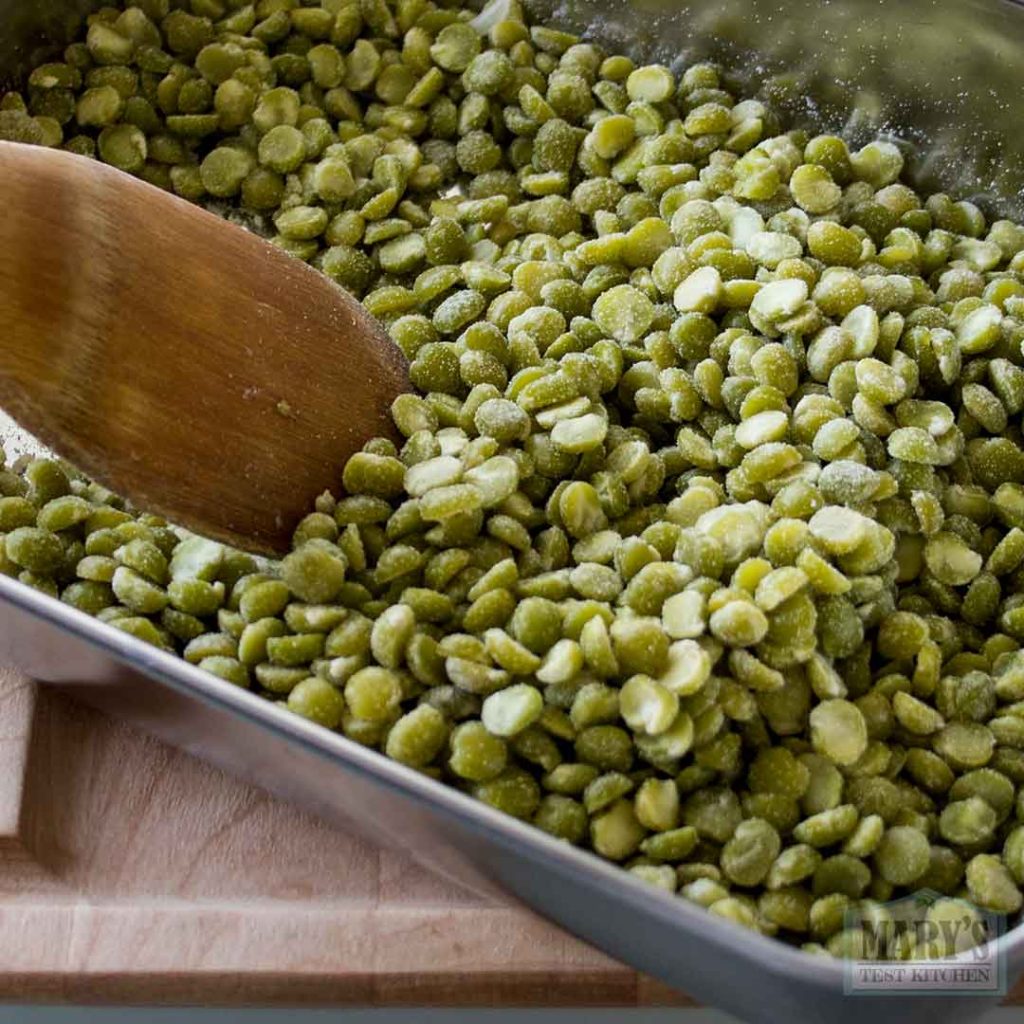
The fungus needs moisture, but it does not like wet surfaces. Allow the residual heat from the pot to evaporate excess moisture while stirring occasionally.
The peas should feel moist inside but dry on the surface. There should be no visible water droplets on the legumes or in the pot.
If you’re unsure whether they’re dry enough, wait a few more minutes. Slightly too dry is generally easier to recover from than too wet.
Step 5: Cool Before Adding the Starter
Tempeh starter contains living spores. If the peas are too hot, you’ll kill them before fermentation even begins.
Transfer the peas to a clean container and allow them to cool to approximately body temperature.
Many experienced tempeh makers use a thermometer, but if the peas feel comfortably warm rather than hot, they’re usually ready for inoculation.
Cover them with a clean lint-free cloth while they cool to keep dust and pet hair away.
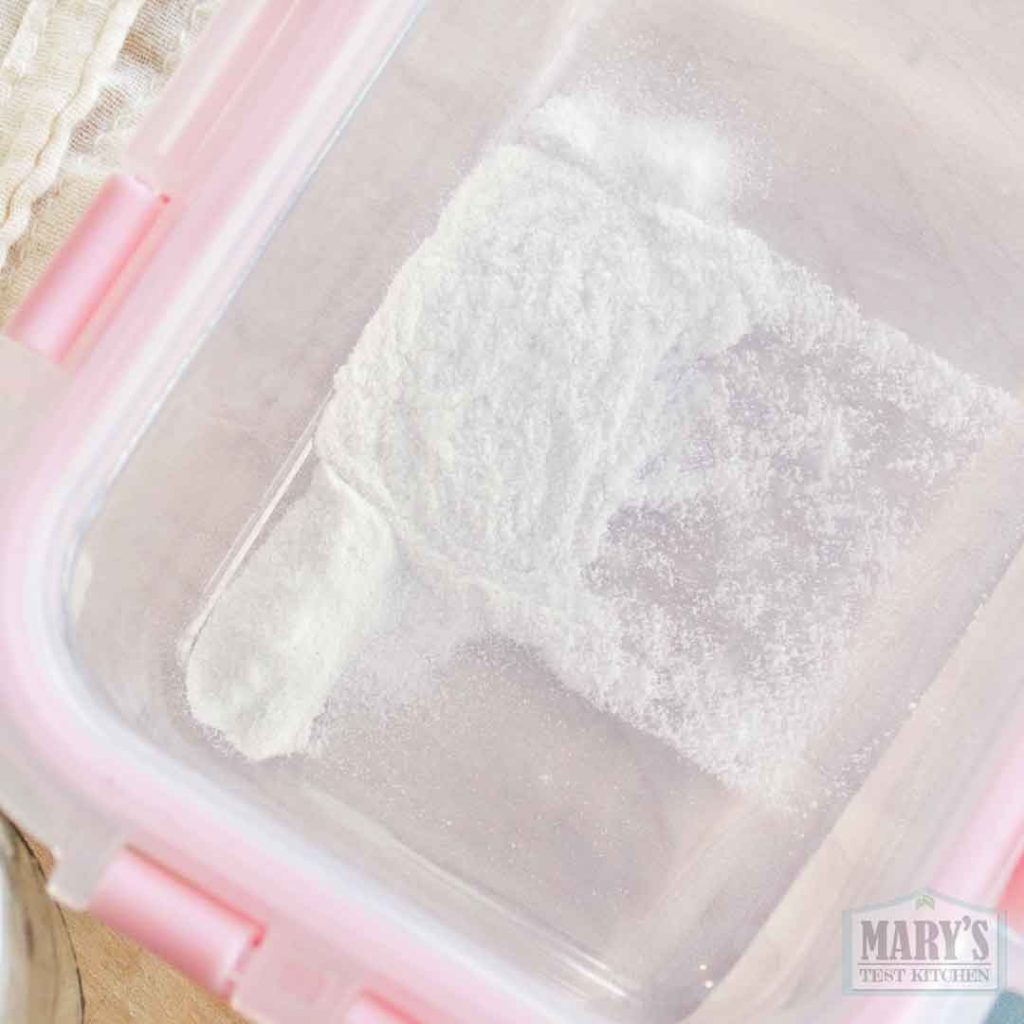
Step 6: Mix in the Starter Thoroughly
The Starter package will usually tell you how much to use for the amount of dry ingredient you started with. The pack I used in the video was actually expired for five years already so I guesstimate that one packet (3 grams) would work for my 3/4 cup of dried split peas (and I guessed right!). However, normally, it would be enough for 2 cups.
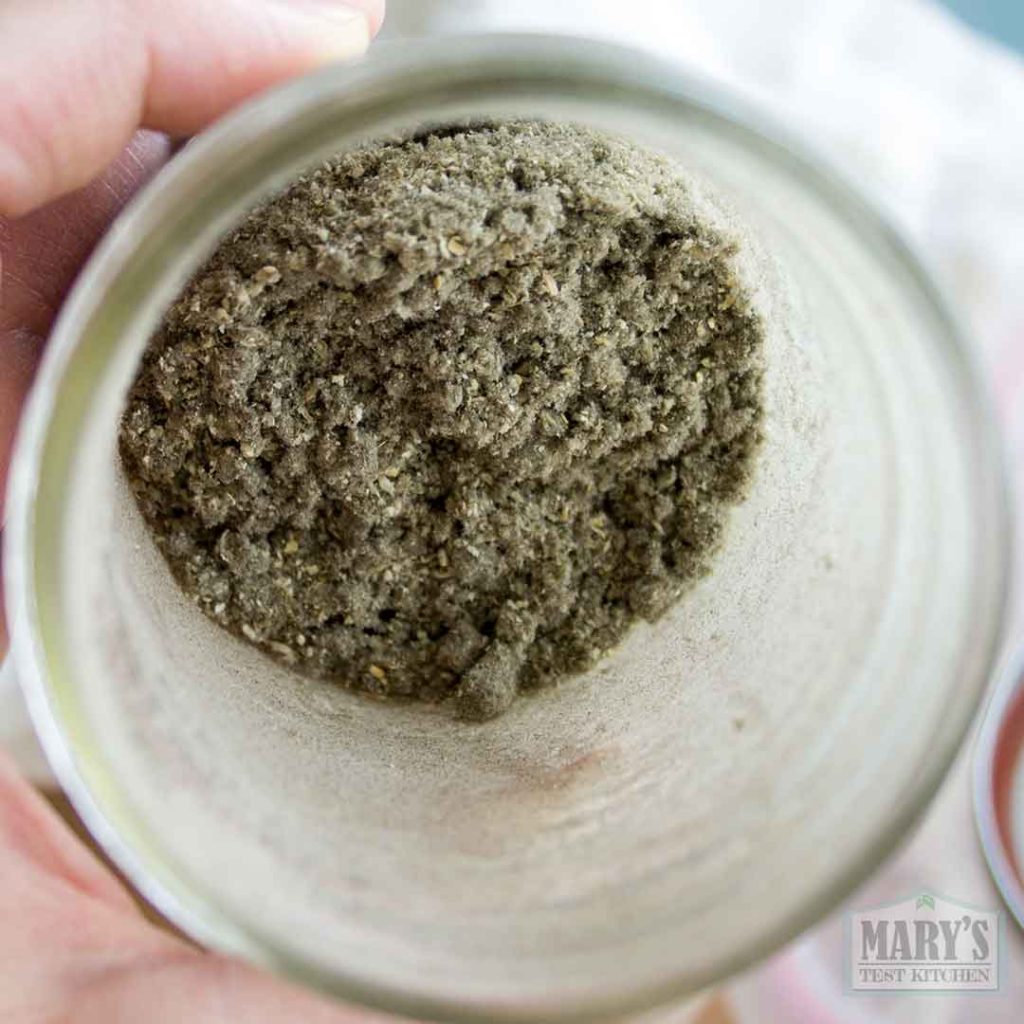
Sprinkle the starter evenly over the cooled peas and mix thoroughly.
Good distribution is essential. Every pea should have a chance to come into contact with spores.
Patchy growth later on is often the result of uneven mixing at this stage.
Step 7: Package for Fermentation
Unlike many other ferments, tempeh requires oxygen. Rhizopus oligosporus is an aerobic fungus and needs airflow to grow properly.
You can incubate tempeh in:
- A perforated plastic bag
- A shallow tray covered with perforated plastic wrap
- A ventilated container with small air holes drilled into the lid.
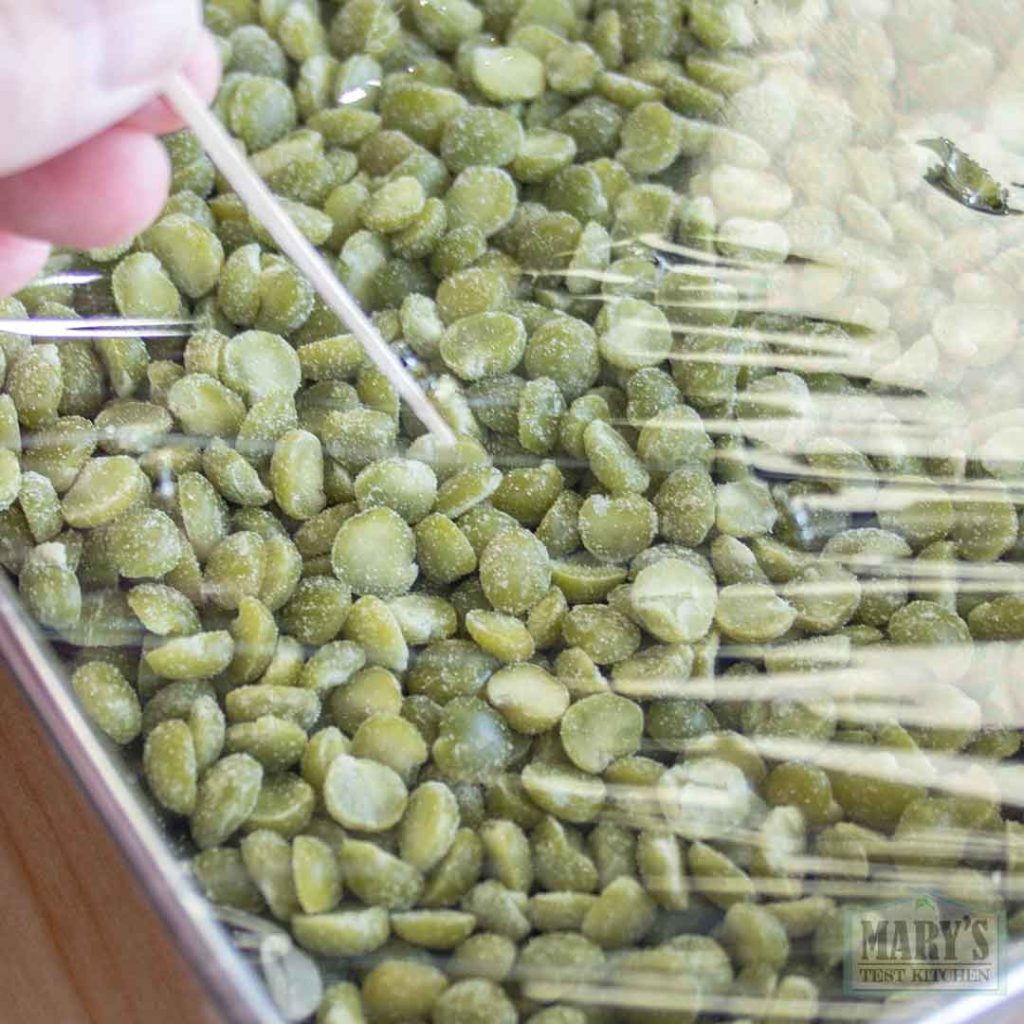
Have the holes about 1″ apart. Keep the layer of peas relatively thin, about 1 to 1½ inches (2.5–4 cm) thick. Thin layers are easier to incubate evenly and are more forgiving for tempeh newbies.
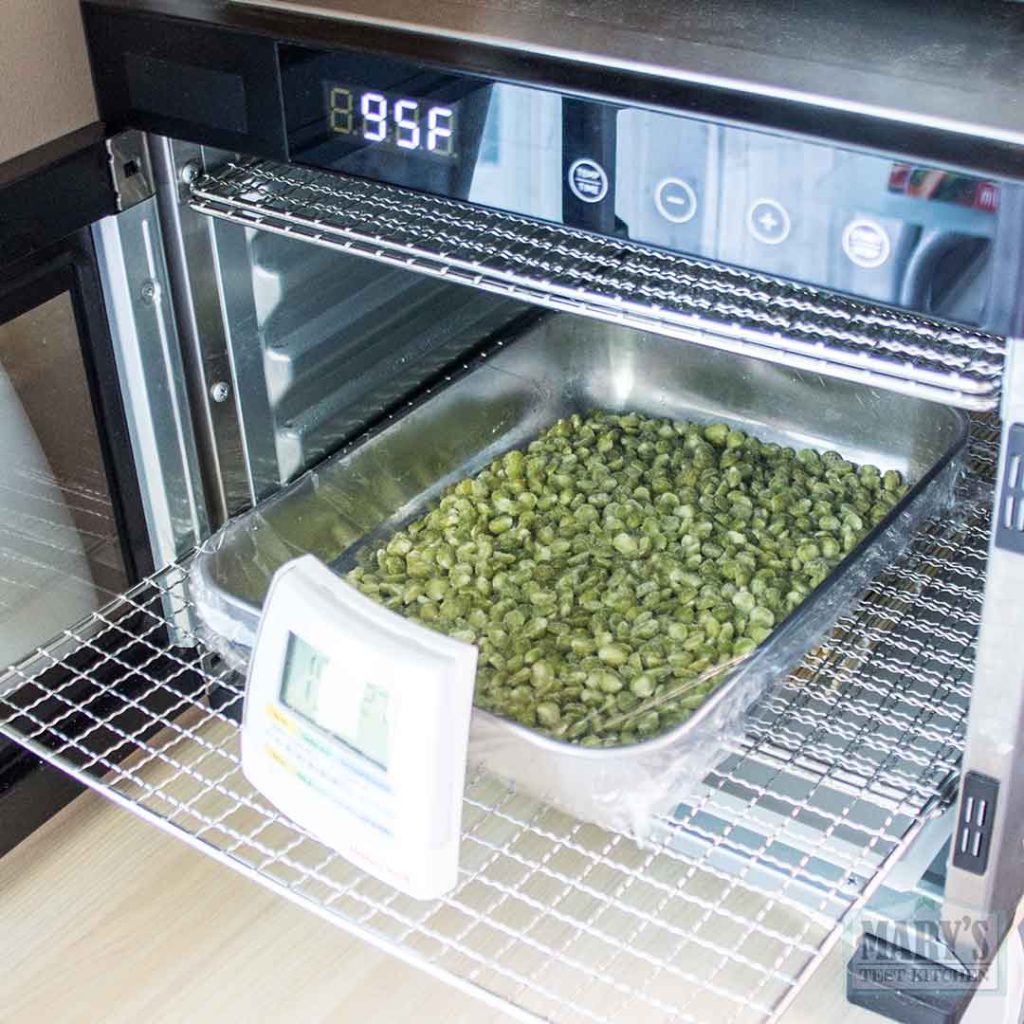
Step 8: Incubate Warm
The ideal incubation temperature is between 86°F and 88°F (30–31°C).
That sounds precise, but tempeh is often more forgiving than people expect. You don’t need laboratory conditions to make successful tempeh.
Common incubation methods include:
- A dehydrator
- An oven with only the light turned on
- A proofing box
- A multicooker with yogurt setting (Like an Instant Pot)
- Air Fryer with a proof setting (Like the Cosori TurboBlaze)
For all the “box incubation” methods, you can use a cheap portable thermometer to confirm the ambient temperature and adjust as necessary. Some people will even use a probe thermometer in the tempeh. For me, that’s overkill but whatever makes you feel more comfortable about fermentation at home 🙂
Try to keep temperatures above 80°F (27°C) and below 95°F (35°C). Growth slows significantly when it’s too cool and can stall entirely if it becomes too hot.
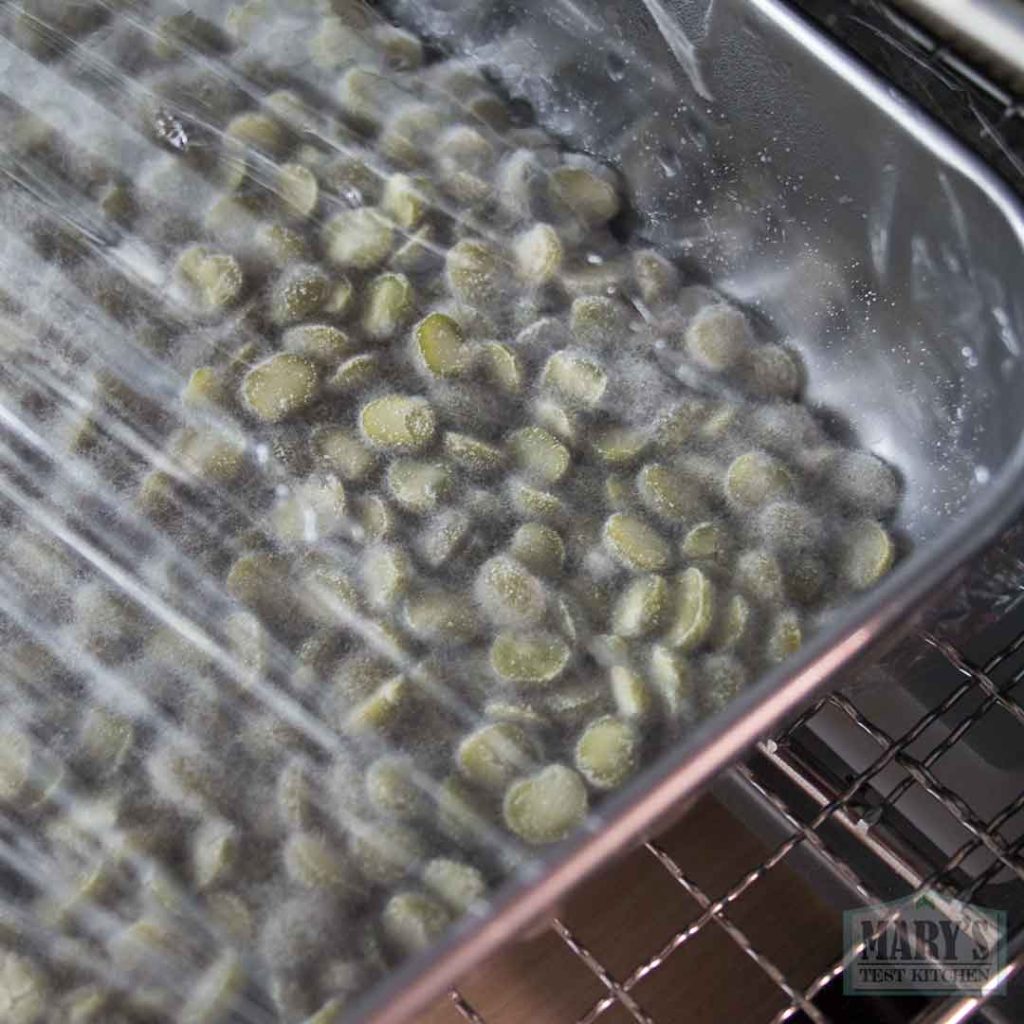
Don’t expect any visible activity during the first 12 hours. That’s normal.
What to Expect During Fermentation
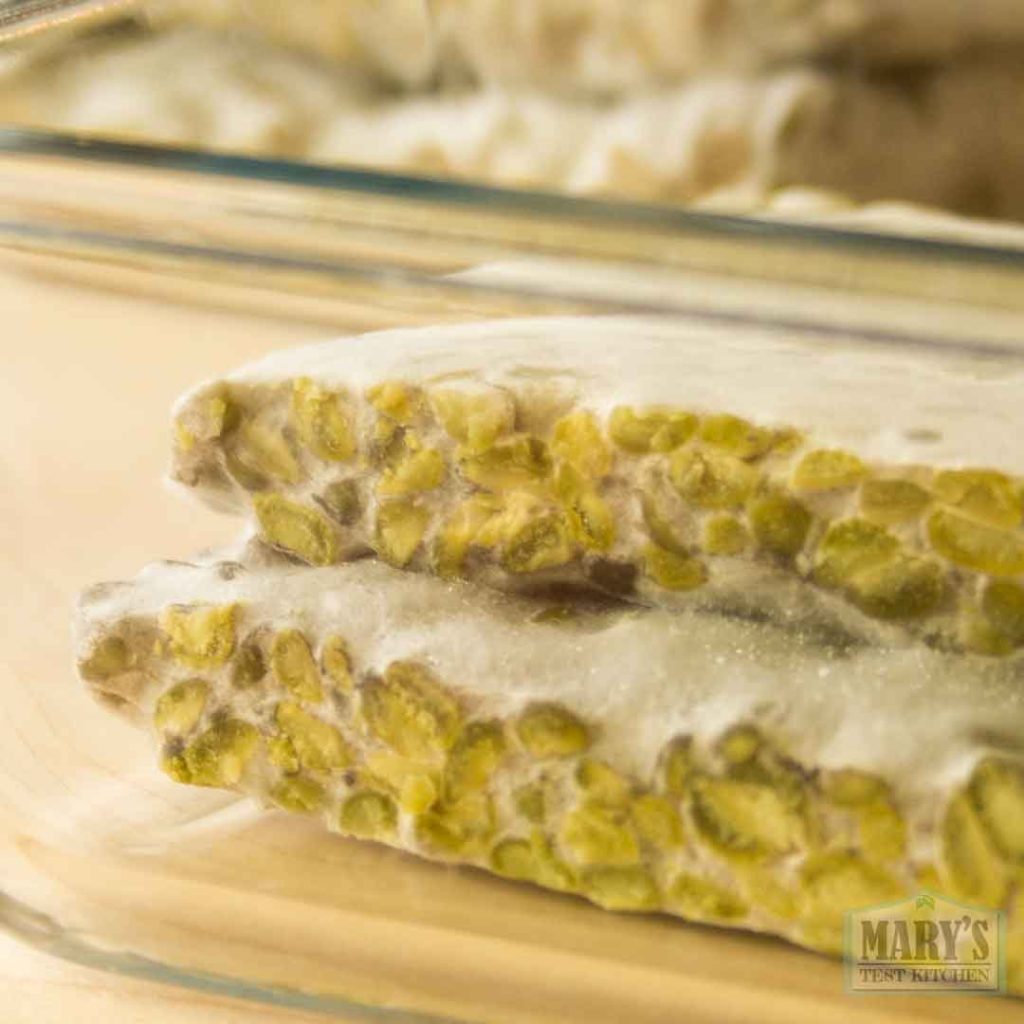
After about 24 hours, you should begin to see white mycelium spreading between the peas.
As the fungus grows, it binds the legumes together into a solid cake. You may also notice the tempeh generating its own heat. This is a sign that fermentation is active and healthy. Because of this, you can turn off or remove any external sources of heat at that time.
Depending on temperature, the tempeh may take anywhere from 24 to 48 hours to fully mature.
How to Tell When Tempeh Is Ready
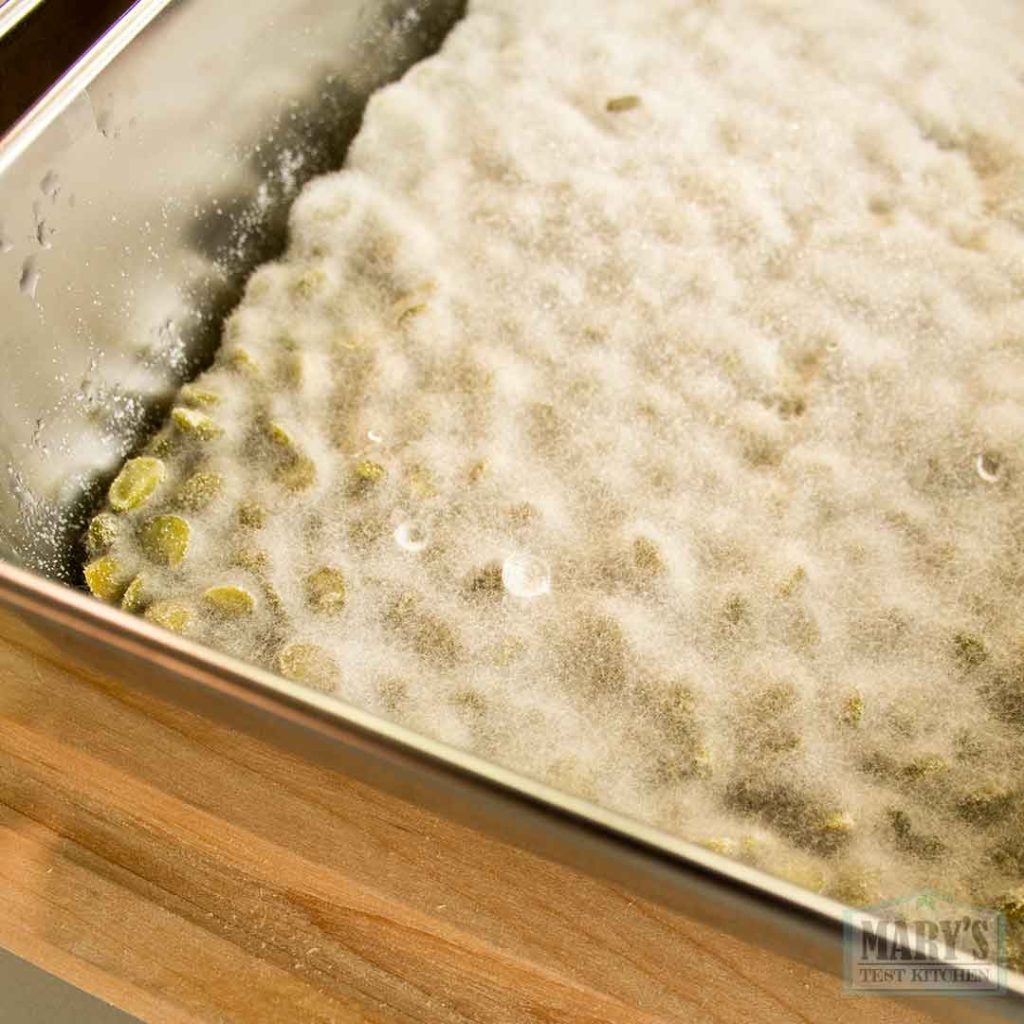
Healthy tempeh should:
- Be covered in white mycelium
- Hold together firmly when handled
- Have a pleasant mushroom-y aroma
- Smell mildly sweet, nutty, or bread-like
Fresh tempeh often smells similar to mushrooms, fresh steamed bao (bread), or mild Brie cheese.

Signs Your Tempeh Has Gone Too Far
Tempeh doesn’t stop fermenting until you refrigerate it.
If allowed to continue growing for too long, it may develop:
- Gray or black spores
- Alcohol-like aromas
- Strong ammonia smells
While sporulation isn’t dangerous, most tempeh newbies find the flavor less pleasant. I prefer to stop the fermentation before any ammonia notes develop.
When in doubt, refrigerate slightly early rather than slightly late.
Do You Need to Cook Tempeh Before Eating It?
Most food safety experts recommend cooking tempeh before consumption.
Fortunately, it’s incredibly versatile. You can:
- Steam it
- Boil it
- Braise it
- Pan-fry it
- Bake it
- Air fry it
- Grill it
Think of it the same way you’d use tofu or cooked meat in recipes.
Tempeh generally tastes like the original ingredient it was made from, with a subtle mushroomy complexity added by the fermentation. And the mycelium easily absorbs flavours during marination or simmering.
Storage Tips
Fresh tempeh is best enjoyed soon after it’s finished fermenting.
Store it in the refrigerator for a few days or freeze it for longer-term storage.
Freezing has little effect on quality and is a great way to keep homemade tempeh on hand for future meals.
The Bottom Line
If traditional soybean tempeh has always seemed like too much work, skip the soybeans.
Split peas are cheaper, easier to find, require less preparation, and produce delicious tempeh with very little hands-on effort. The fermentation itself isn’t the hard part. Removing soybean skins is.
By starting with split peas, you’ll spend less time prepping and more time enjoying one of the most delicious, nutritious, and underrated fermented foods in the world.